1. Create an account
Sign in to Treasury with a Passkey, Google, or Apple — no password to remember.- Passkey
- Google or Apple
- Enter your first name, last name, and email to create your account.
- You’ll get a confirmation email with a link to verify your address.
- Once verified, set up your passkey using your device’s built-in authentication (Face ID, Touch ID, or a security key).
- You’ll be taken to your subscription settings.
2. Choose a plan
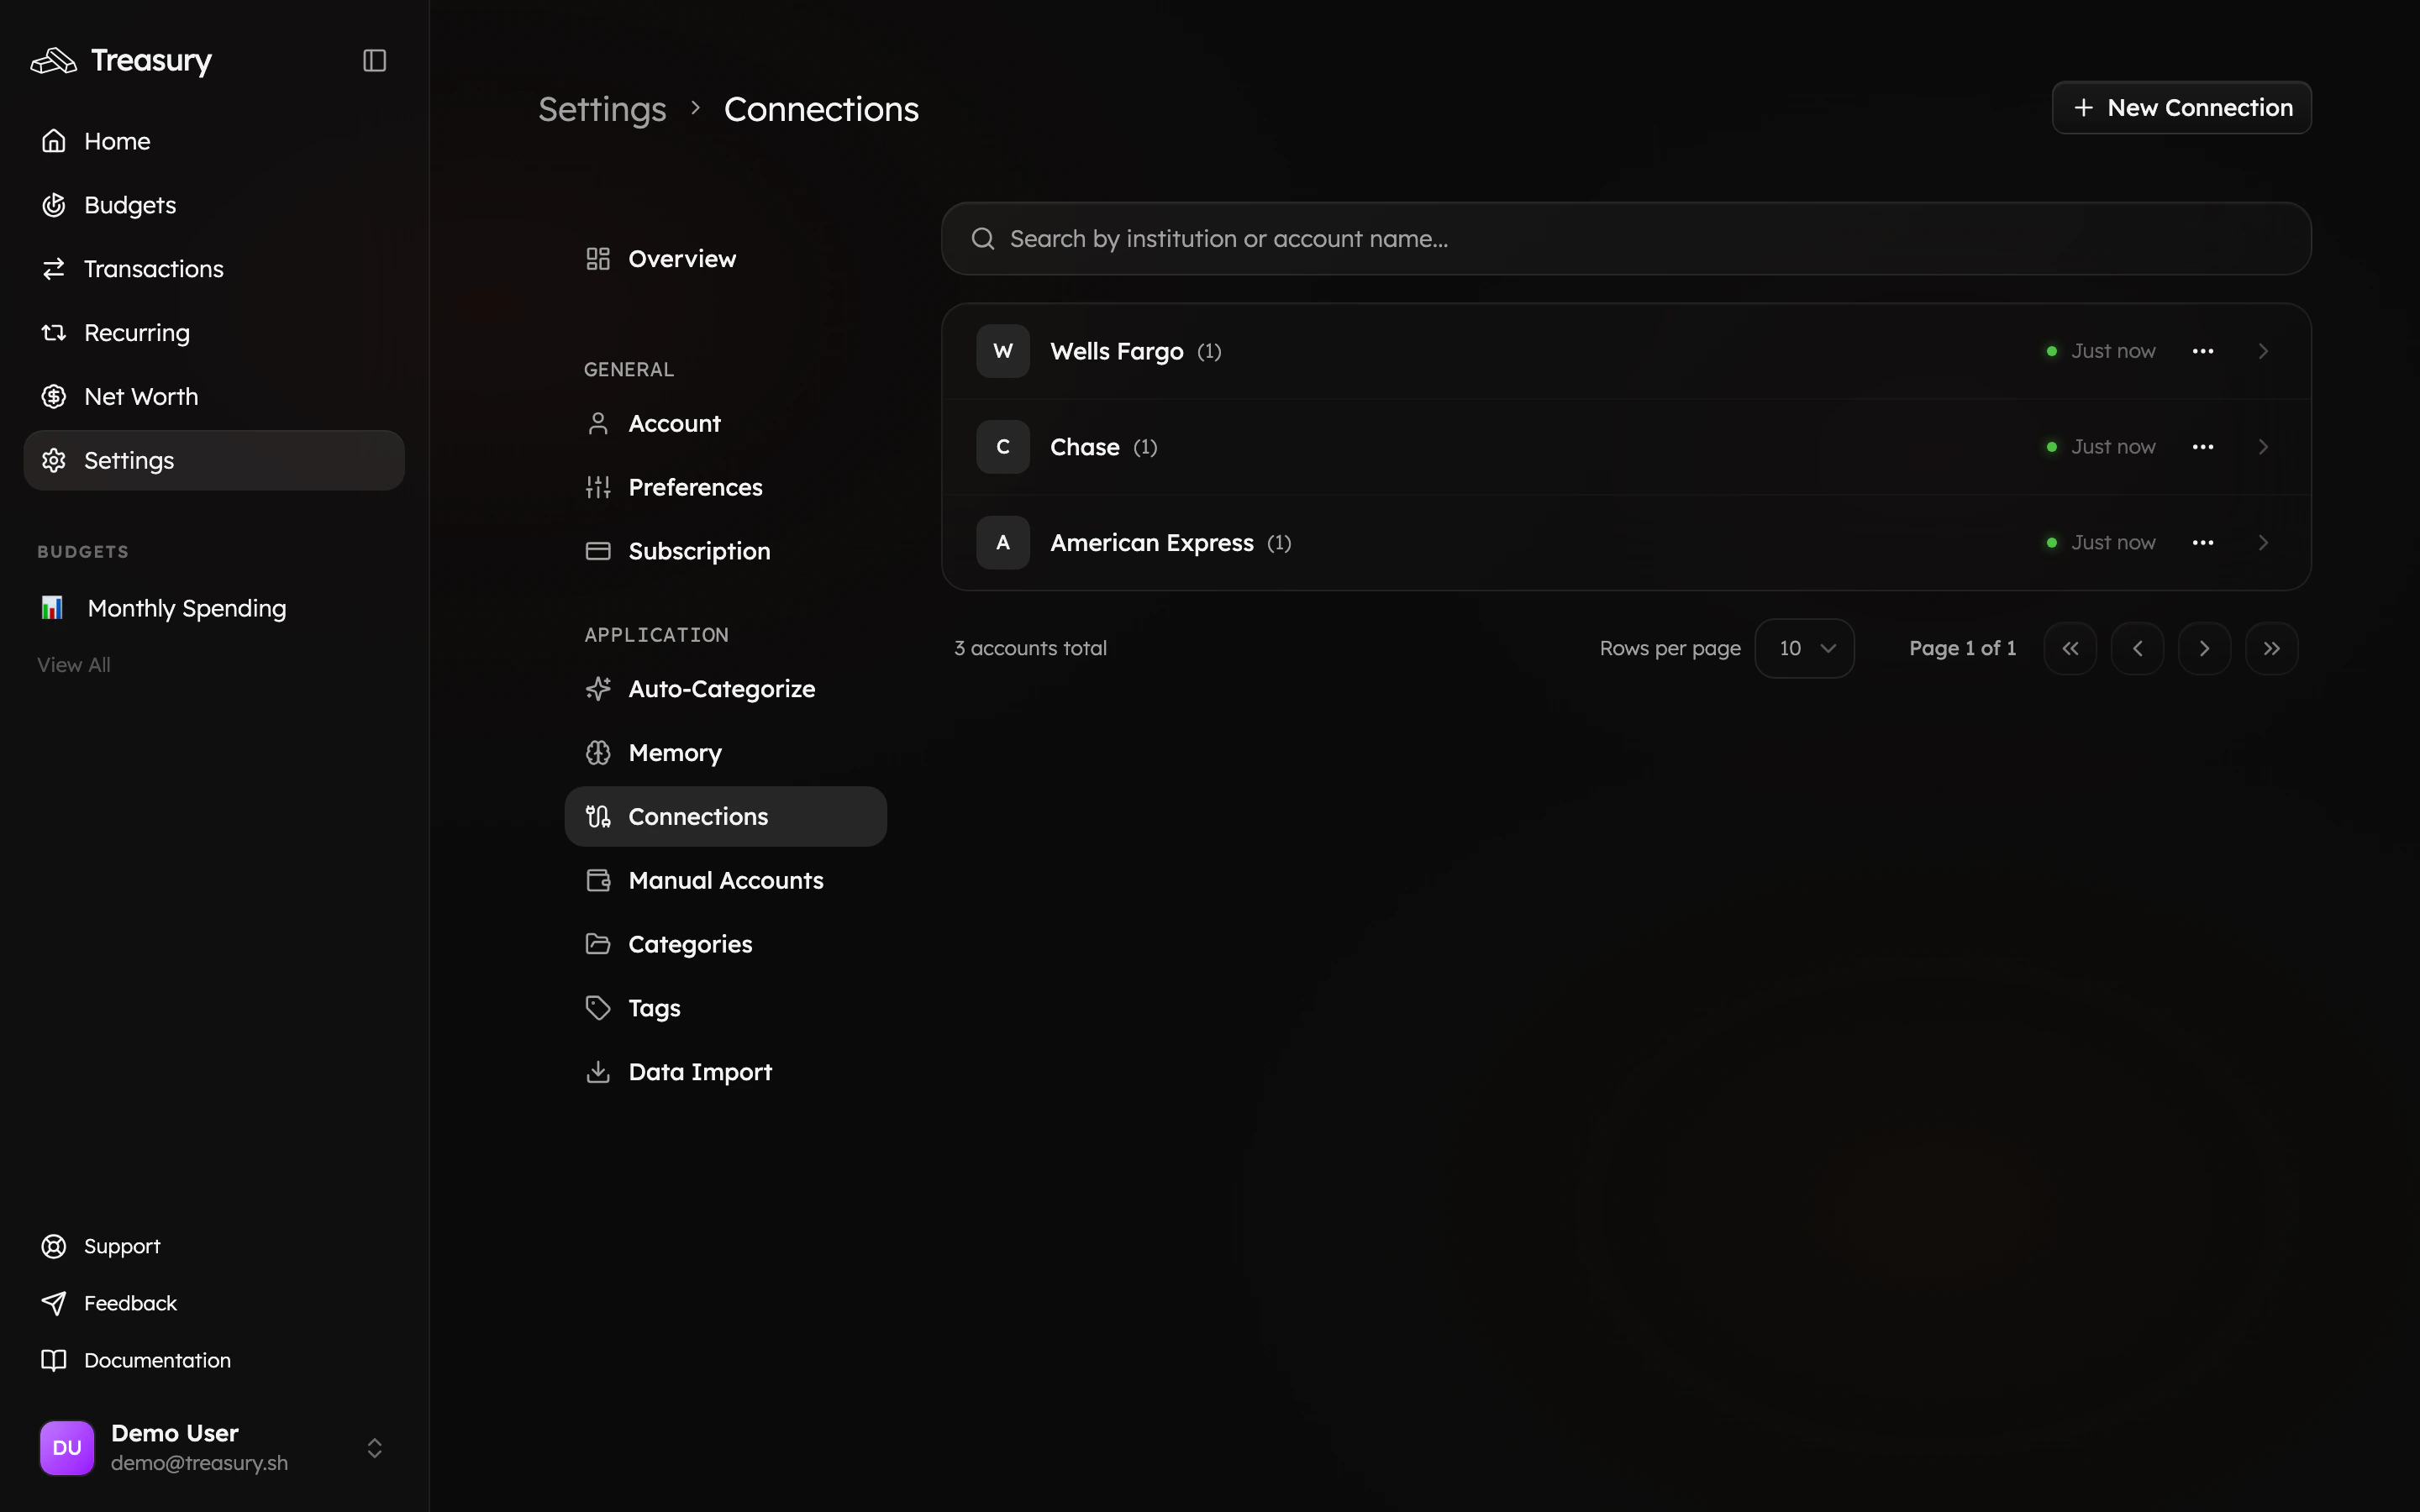
Pick a Monthly or Yearly subscription to get started. You can change it anytime in Billing → Manage Subscription.3. Connect your accounts · a few minutes
Head to Settings → Connections and click Connect account to link your banks and cards through Plaid. Balances and recent transactions import automatically.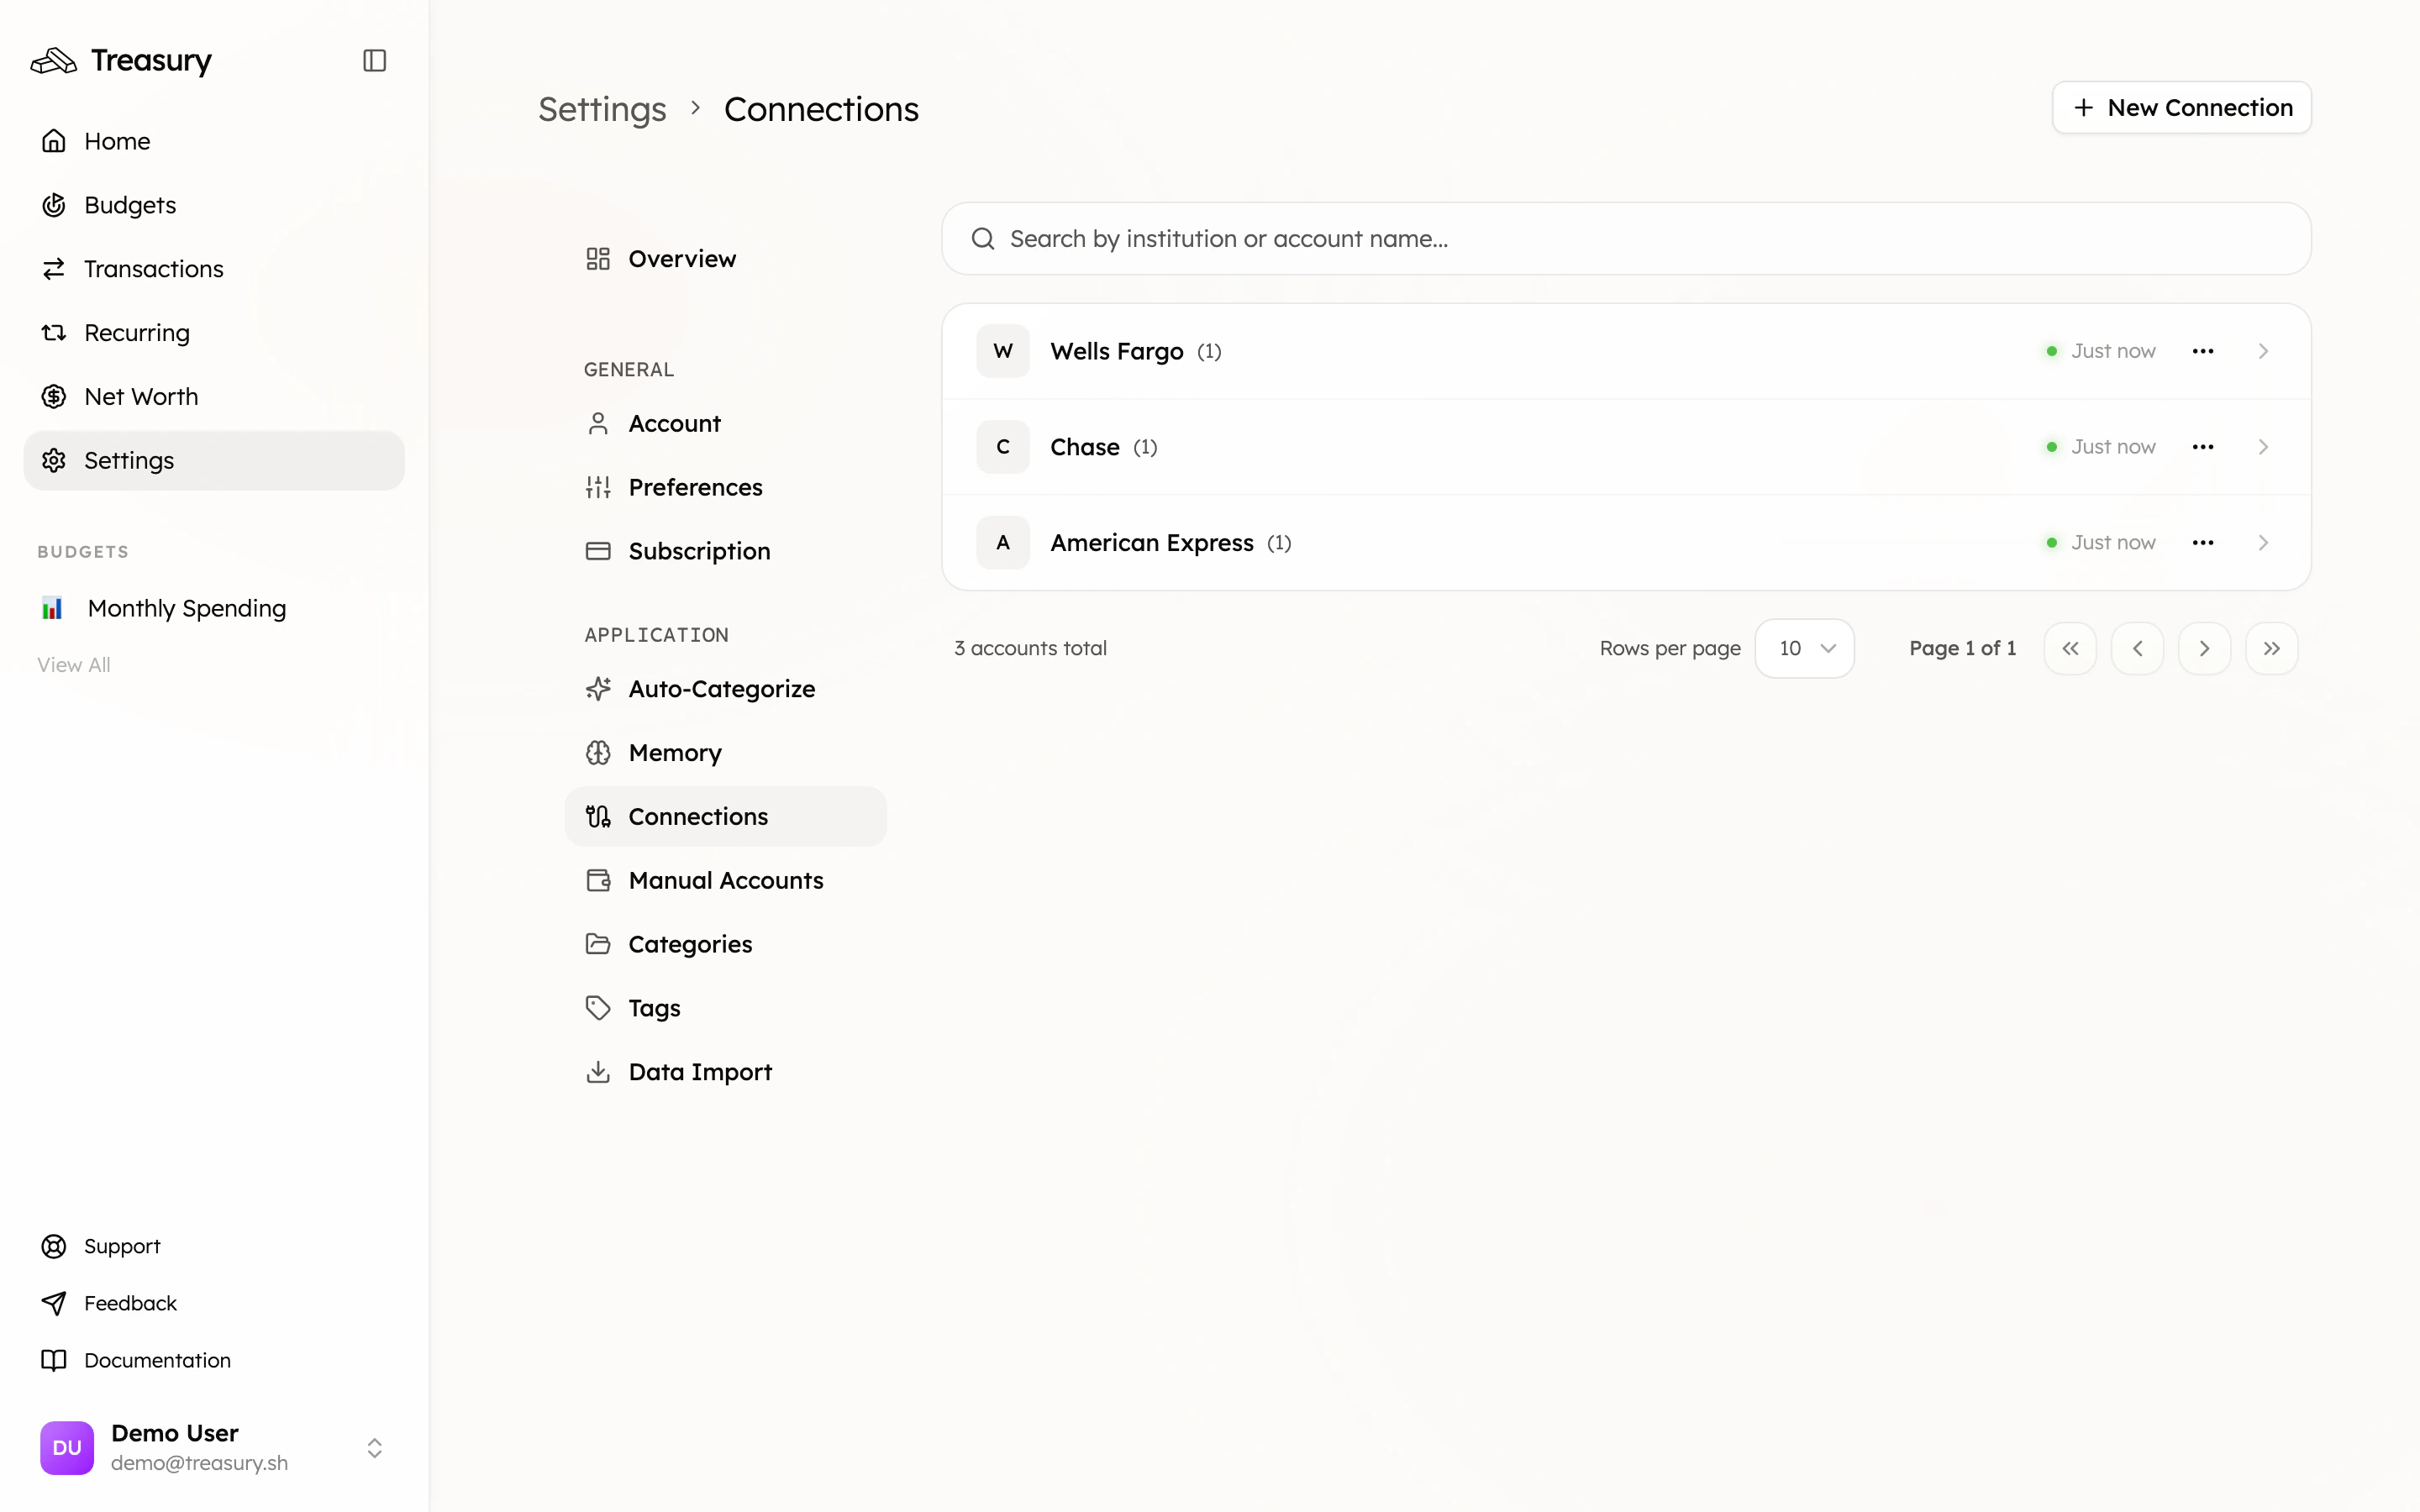
4. Set up your categories · a minute
Add the categories that match how you think about money (the Default preset is a one-tap head start). Want to track a trip or project across categories? Add a tag.5. Clear your transactions · a few minutes
Open Transactions to see your activity. Most of it is categorized automatically; clear anything left over in seconds with Turbo Review — one transaction, one tap, on to the next.
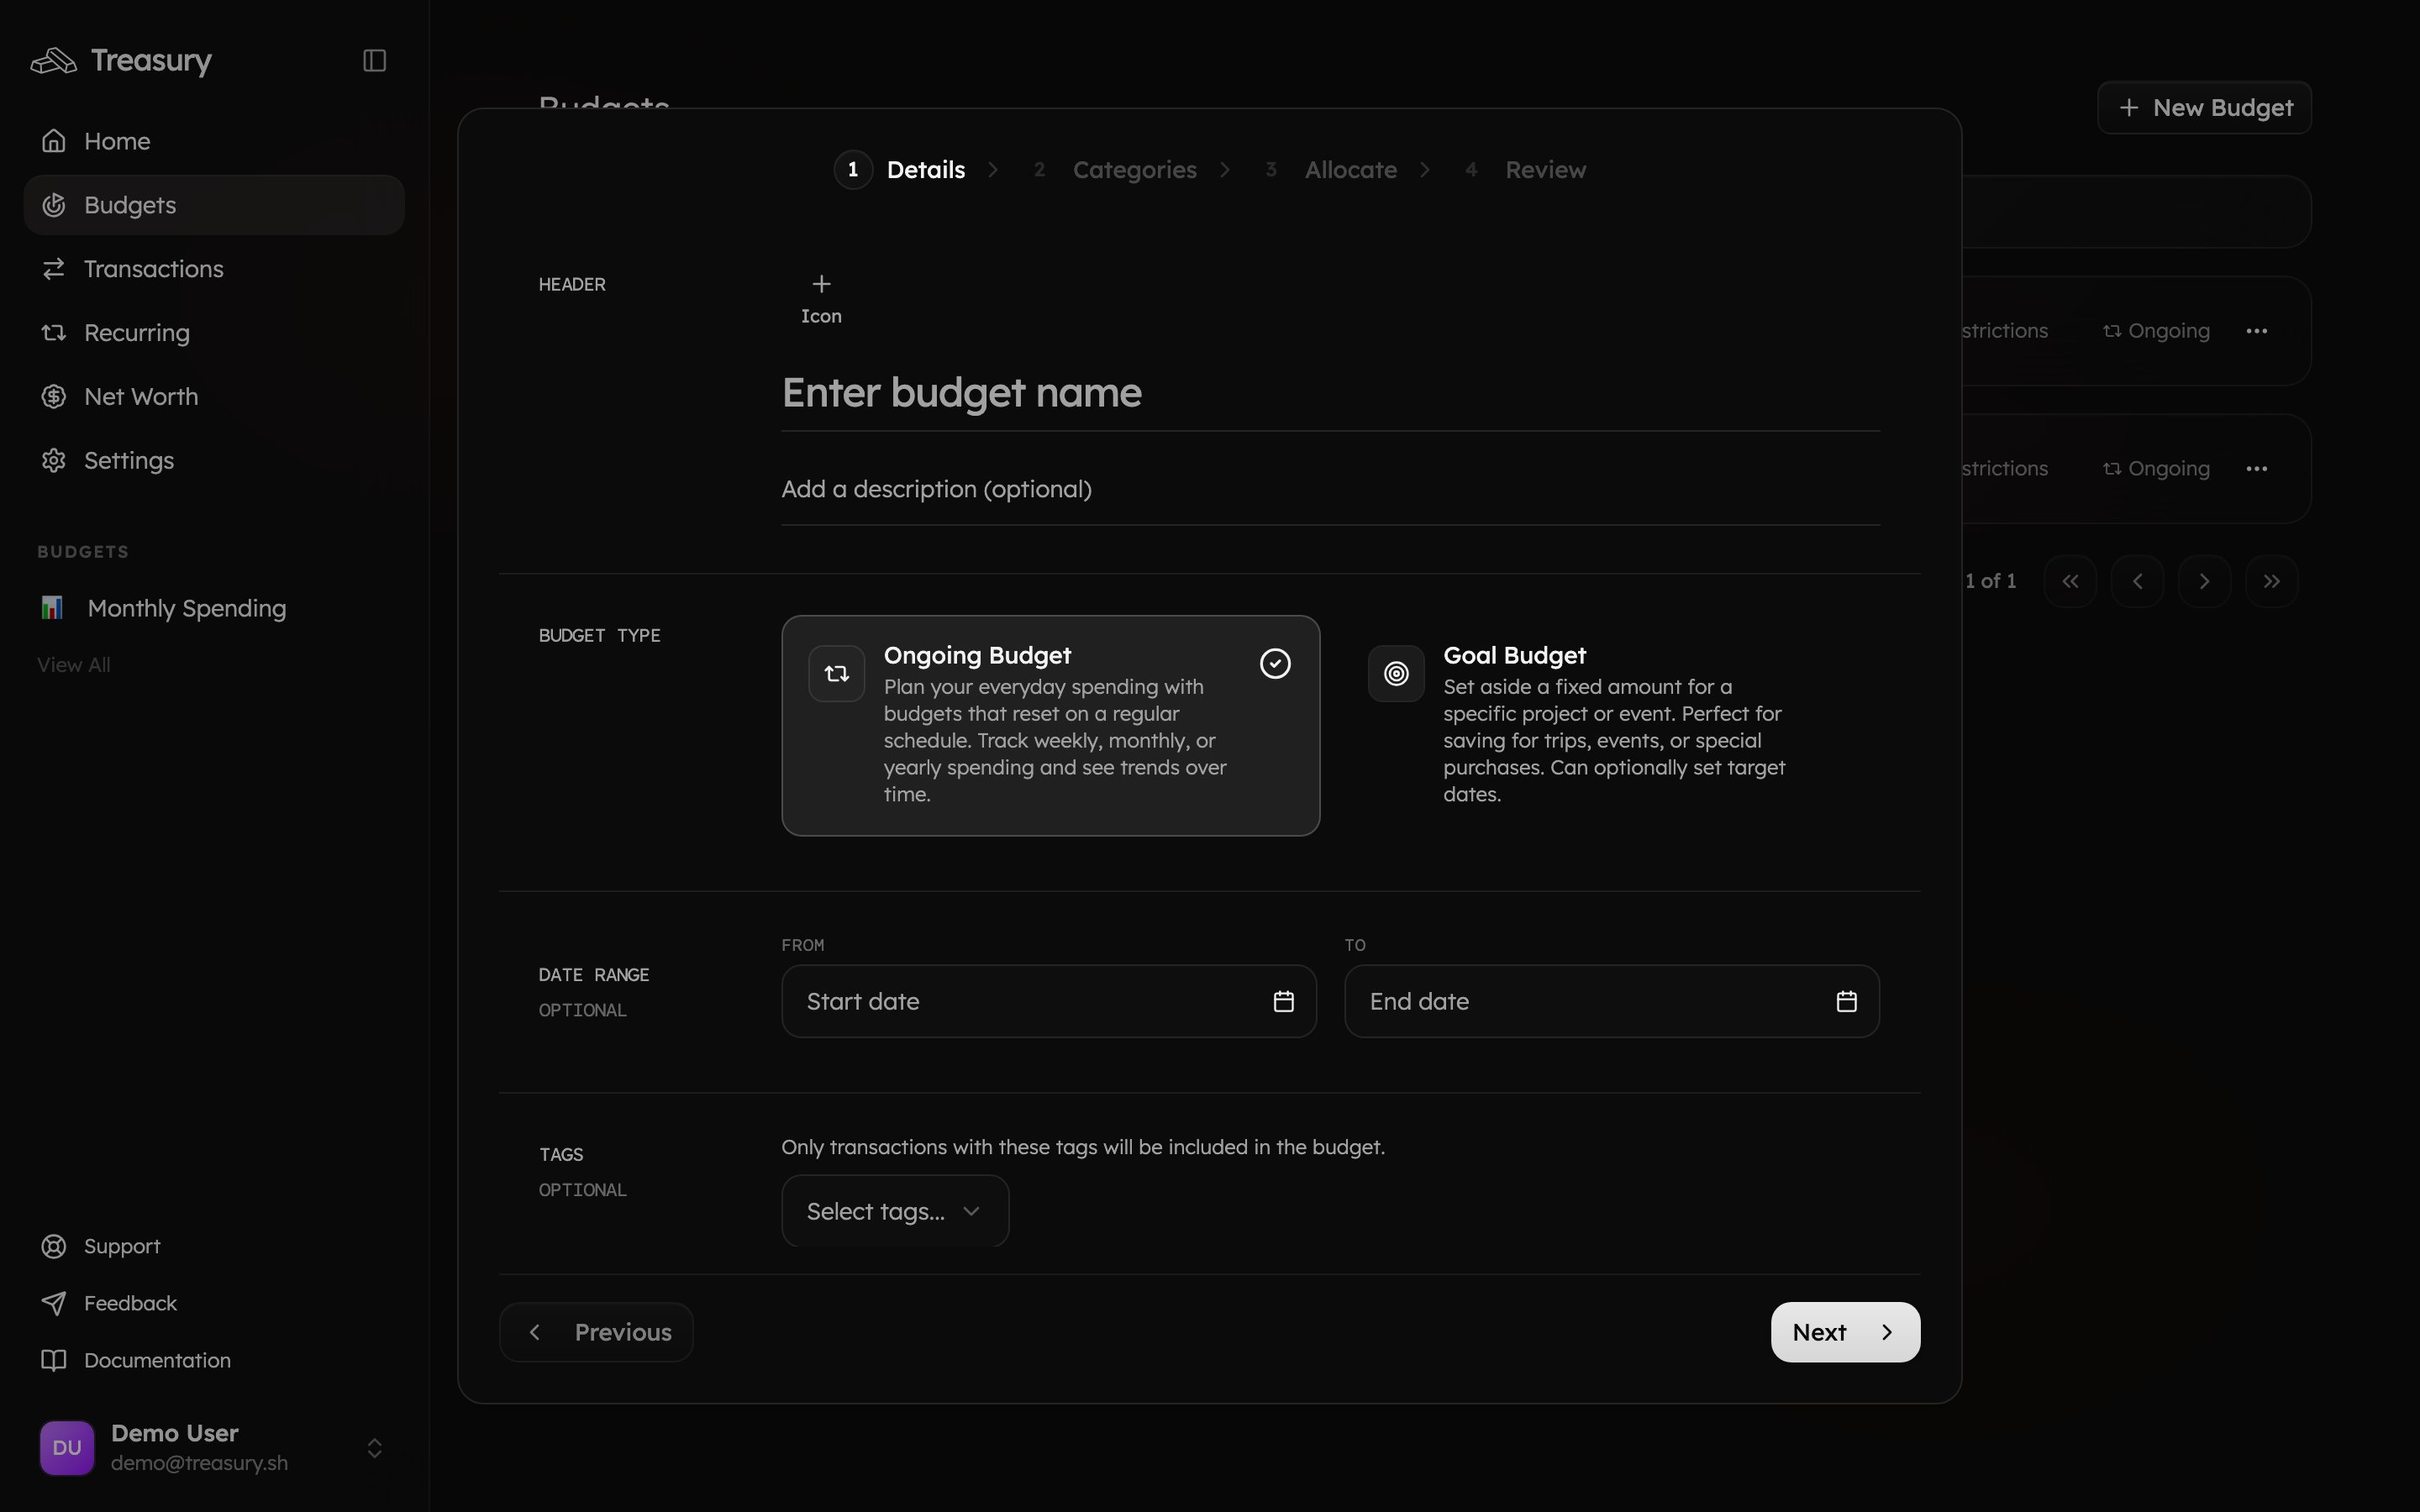
6. Create a budget · 2 minutes
Go to Budgets and click New Budget. Keep it simple to start: one “Monthly Spending” budget covering your main expense categories. It tracks itself as transactions sync.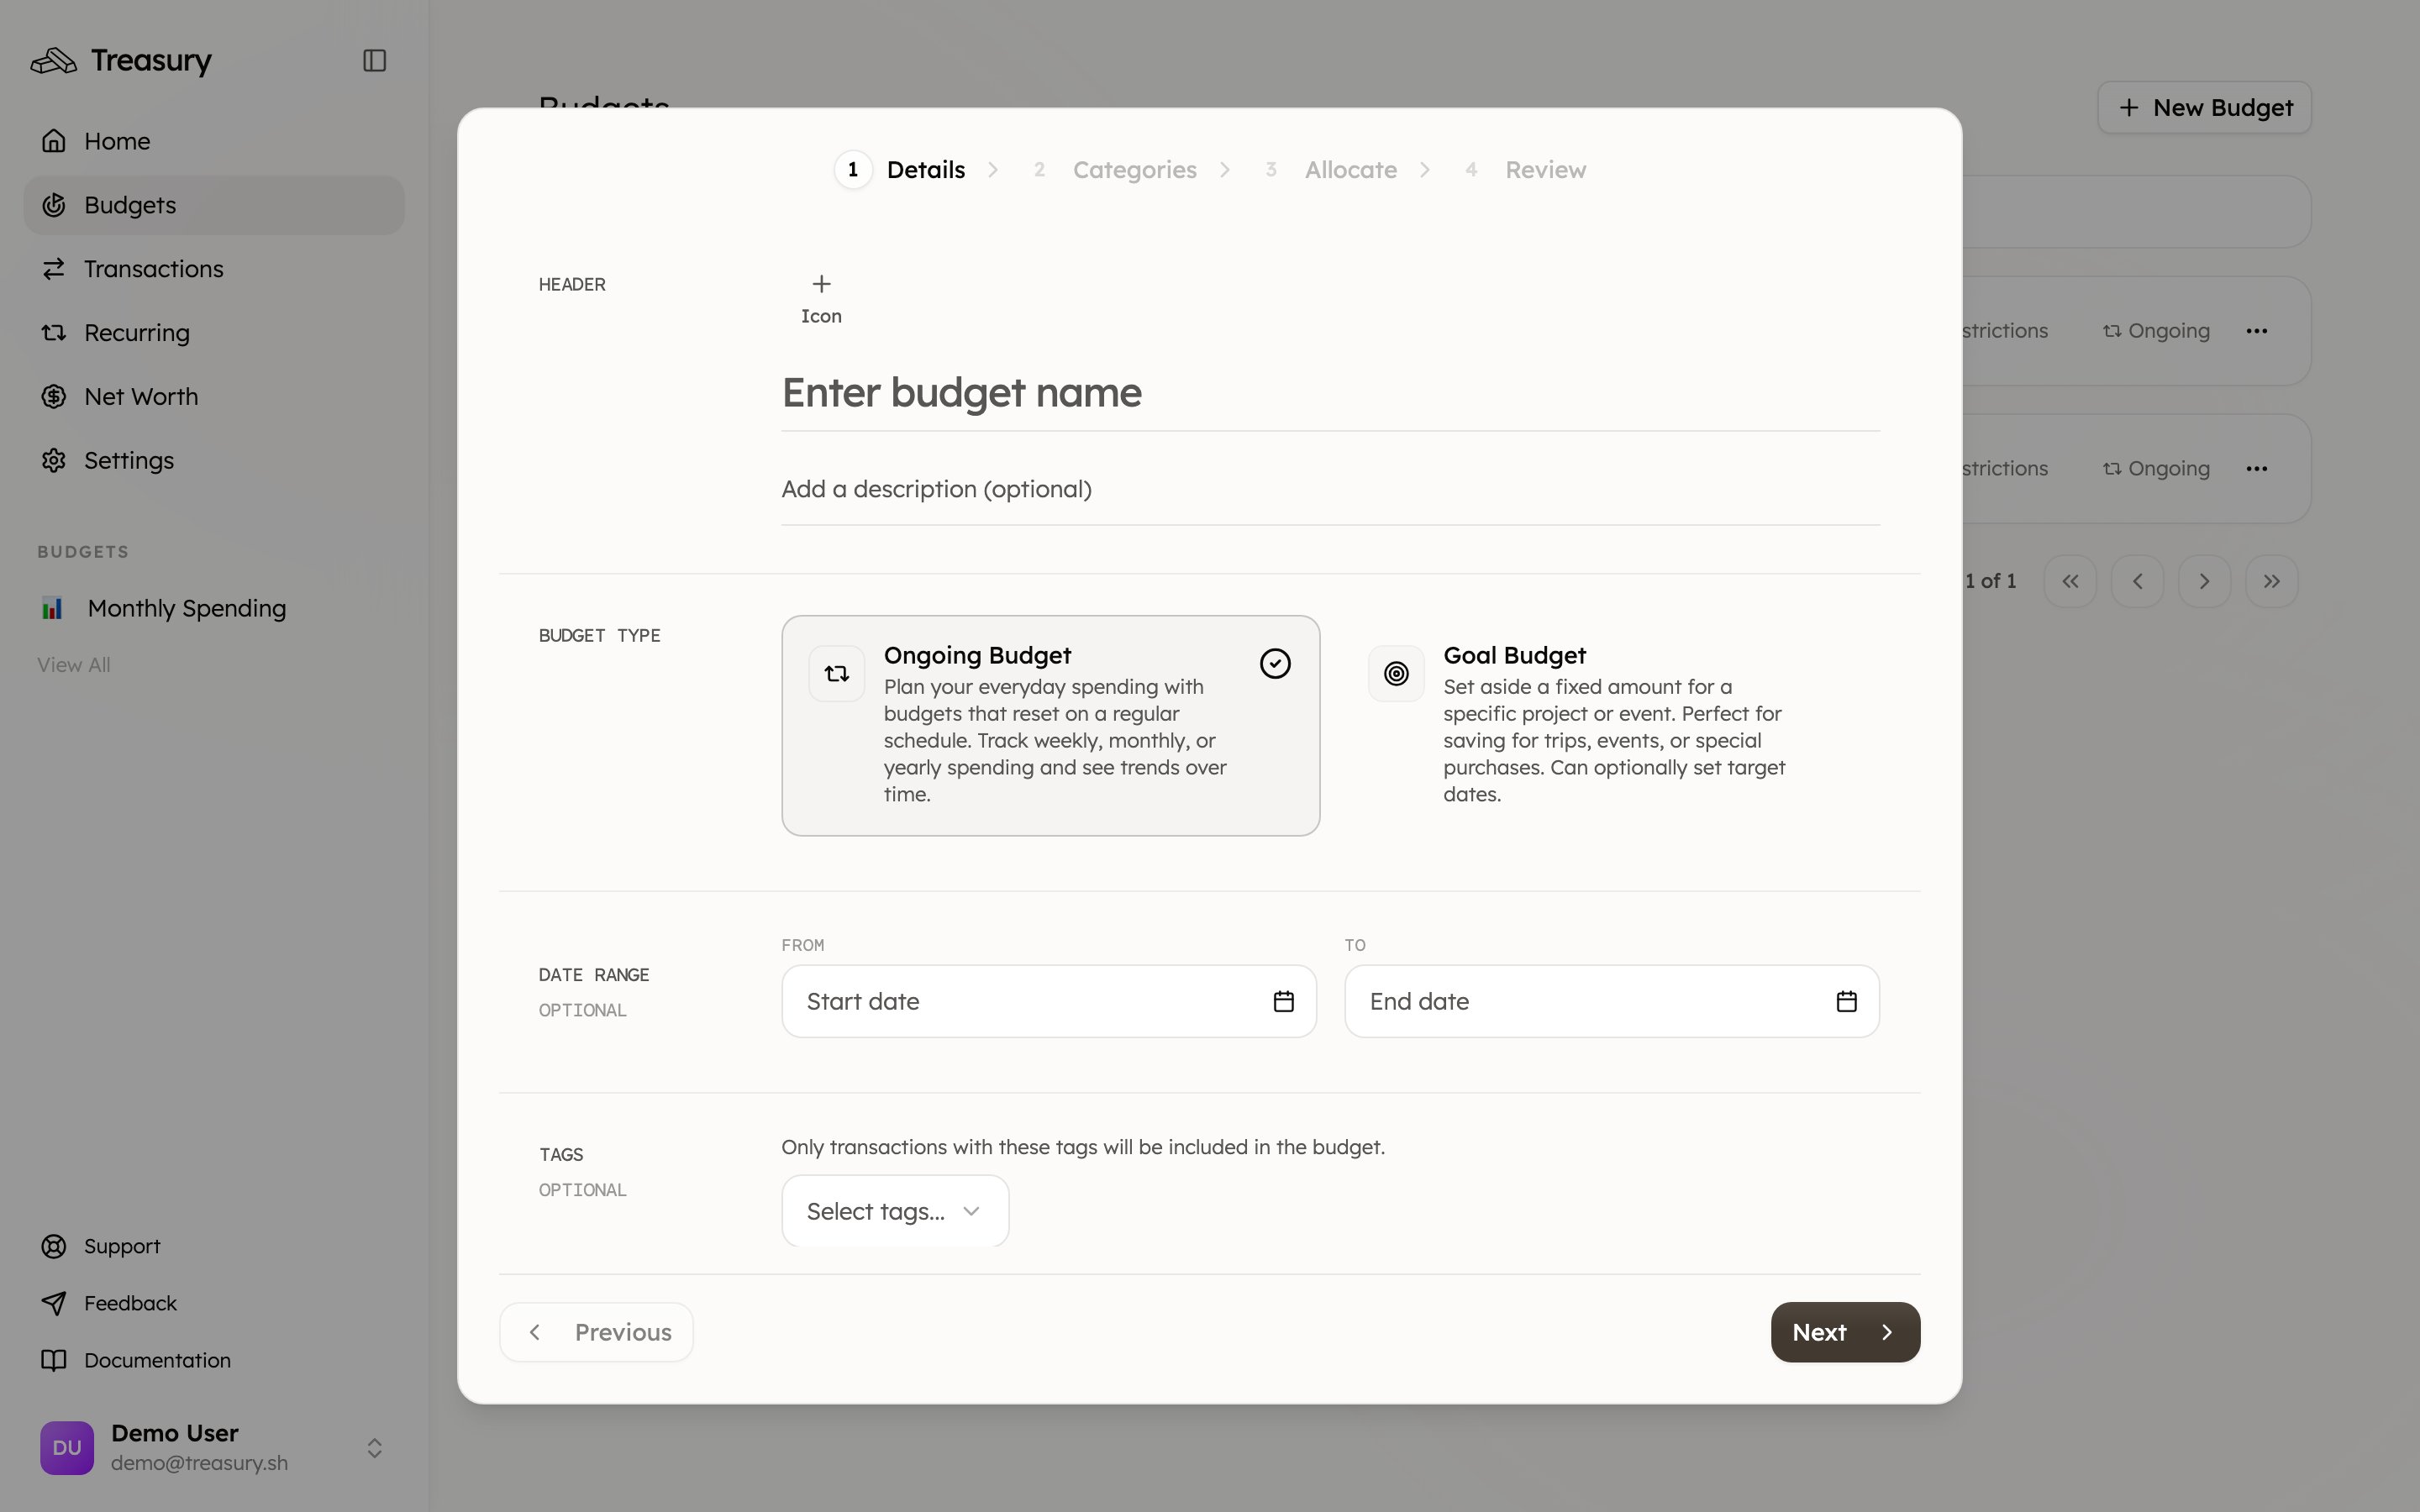
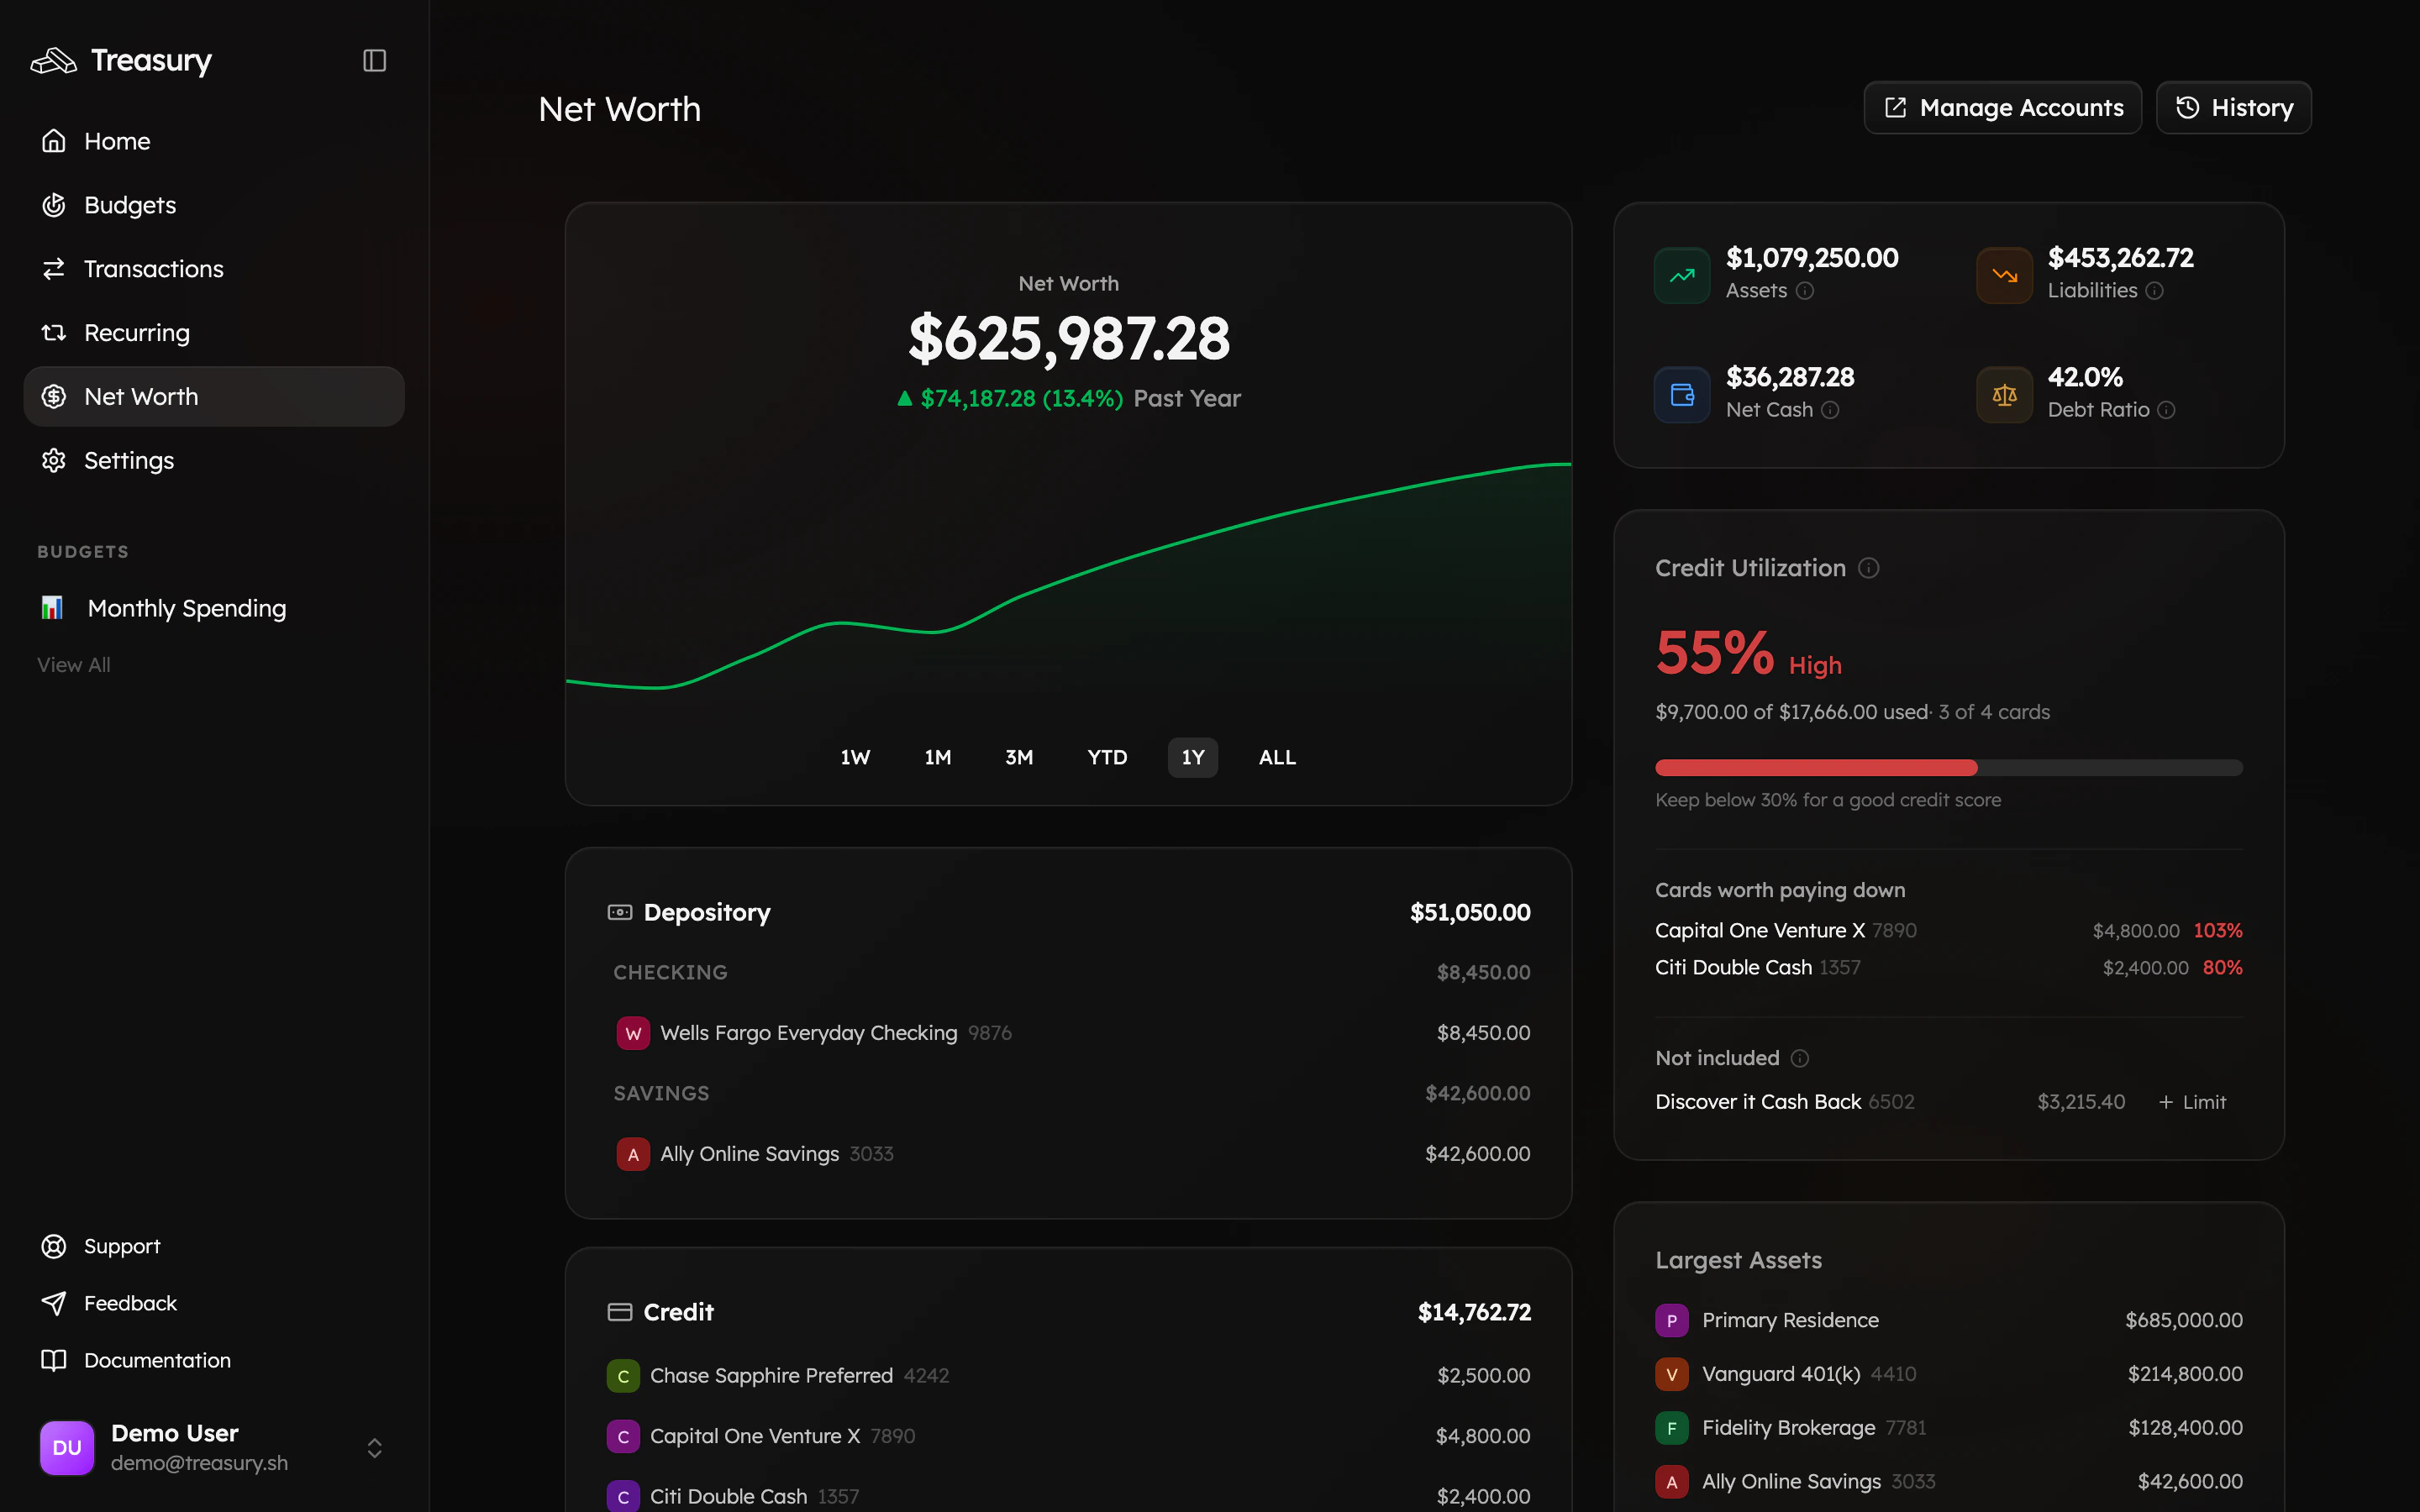
7. See your whole picture · instant
Open Net Worth for the one number that matters most. Add anything that doesn’t sync — a home, a car, cash — as a manual account so the number is complete.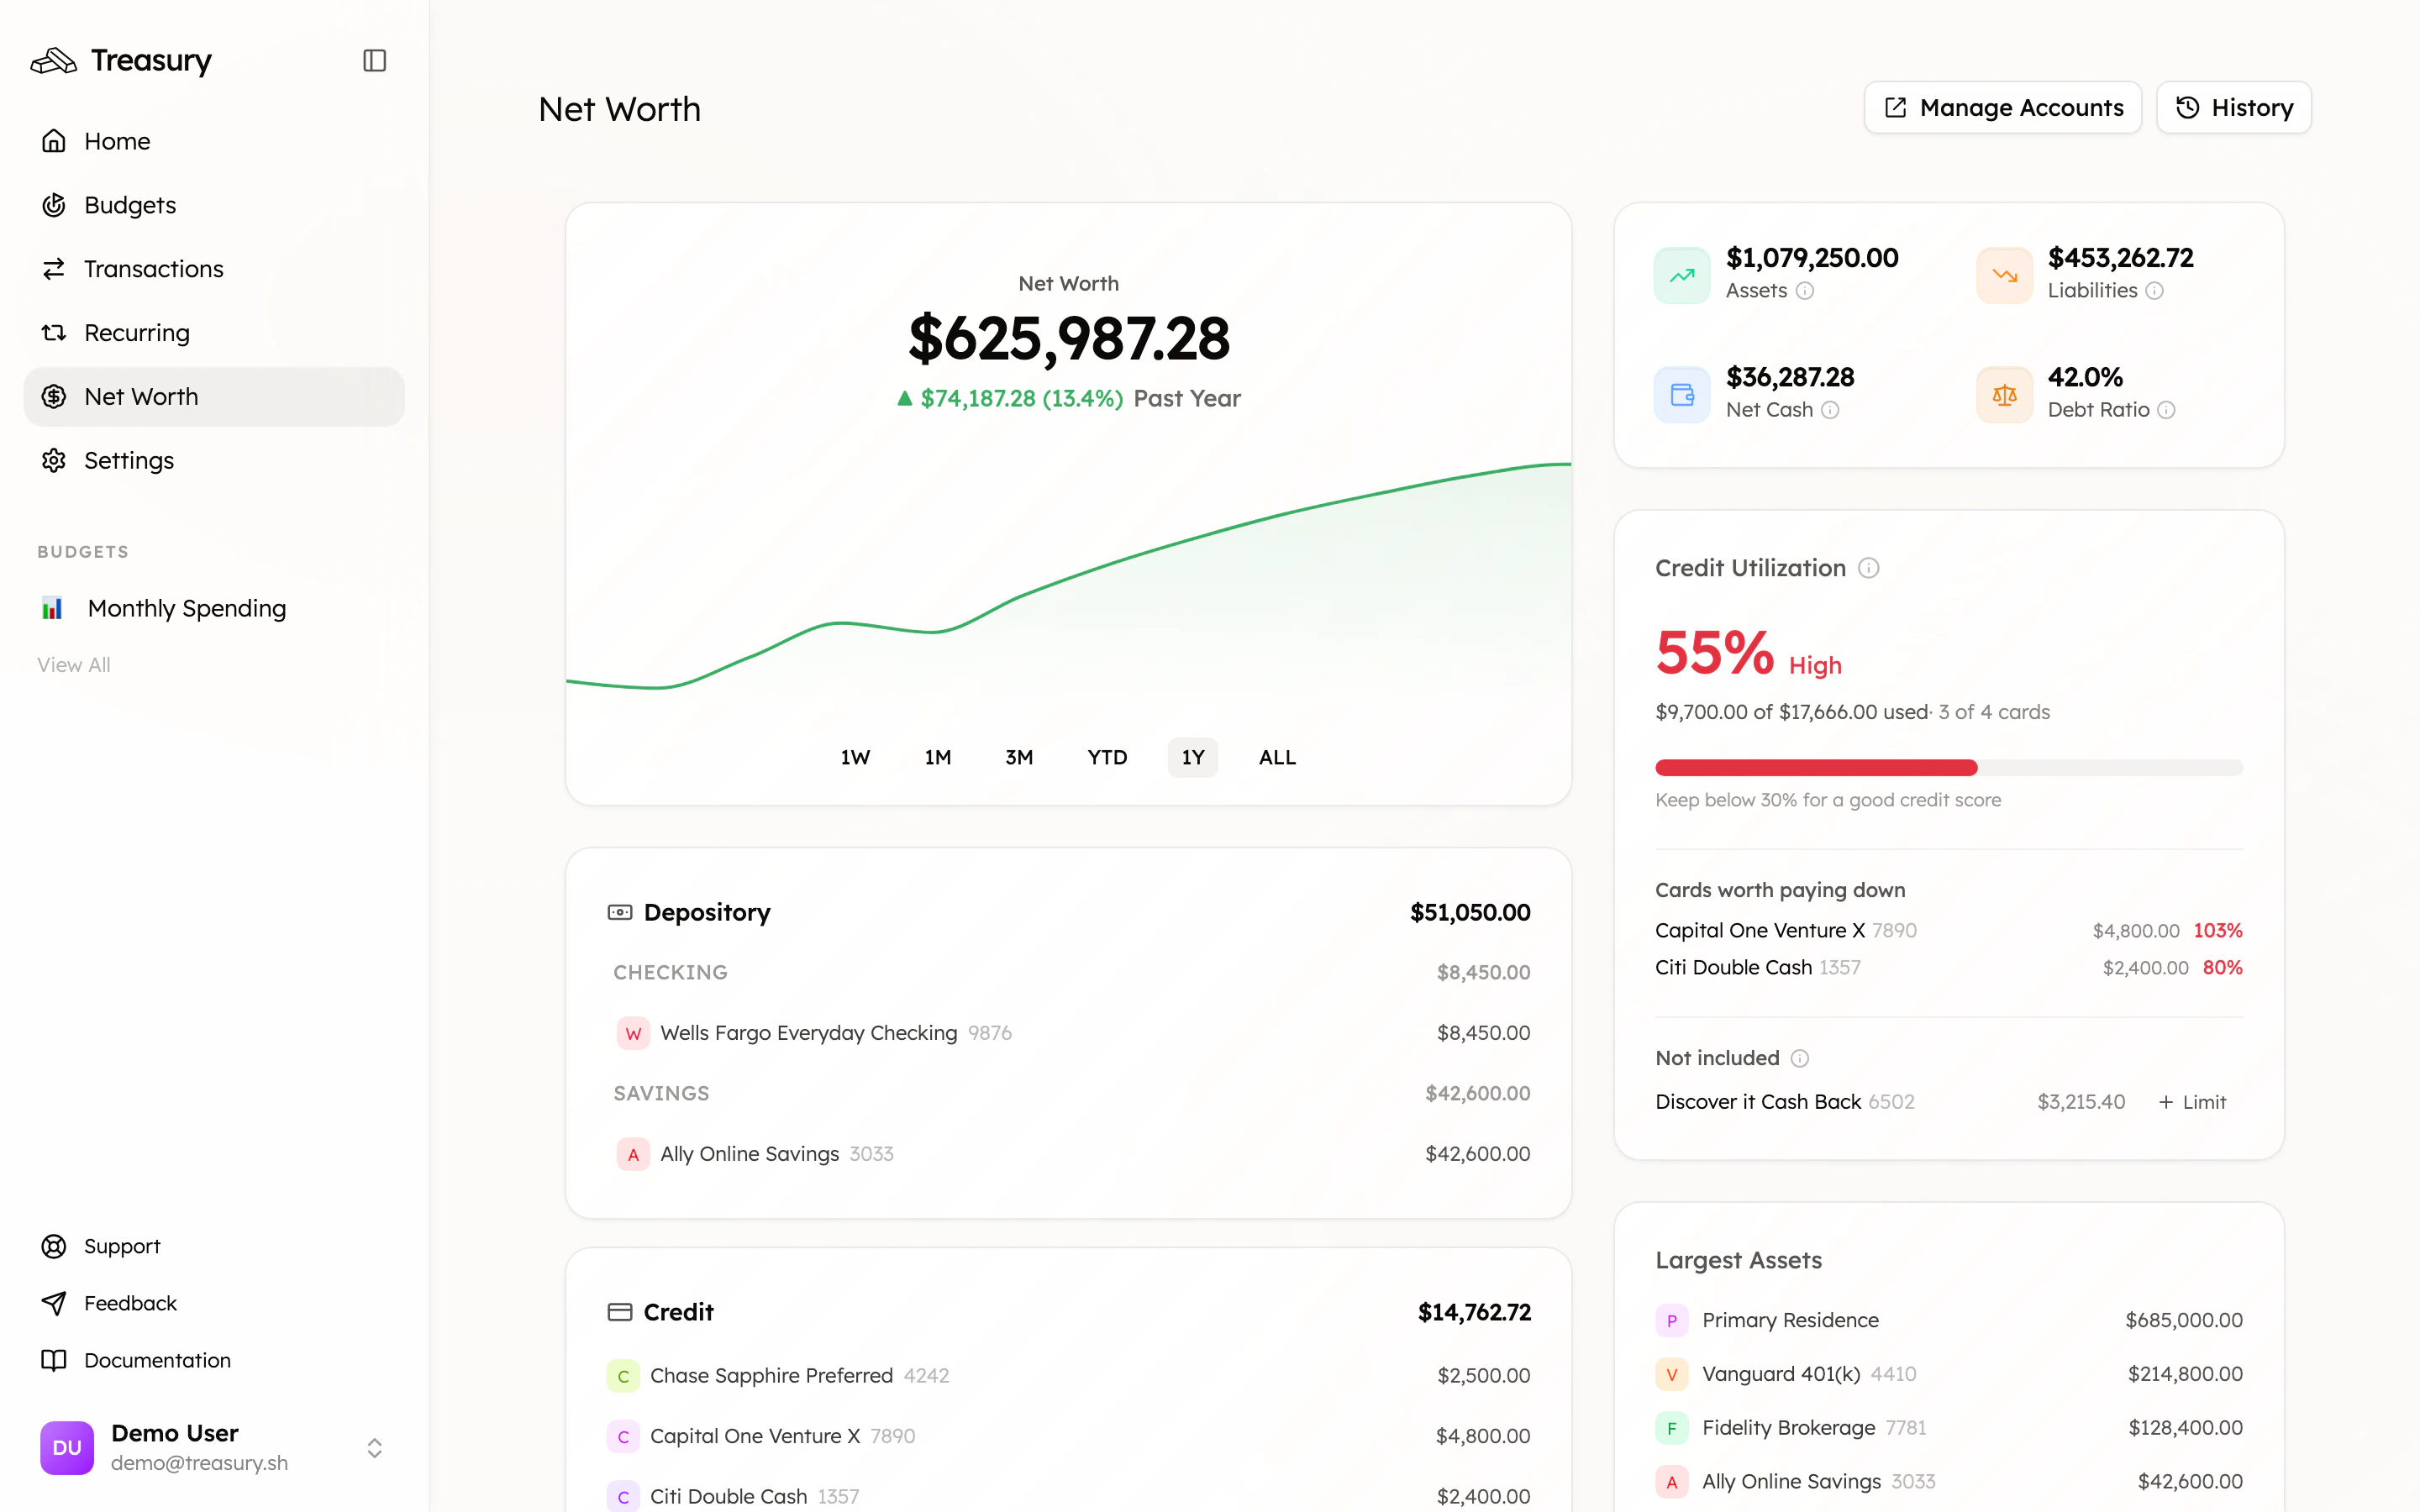
8. Ask the AI · seconds
You’re set up — now let Treasury AI do the heavy lifting. Ask it anything: “How much did I spend on food last month?”, “What bills are due this week?”, “Which subscriptions should I cancel?”Next steps
That’s it — from here, daily use is a 30-second glance and the occasional question. Dig deeper with these:Find & cancel subscriptions
Surface every recurring charge and cut the waste.
See your true net worth
Add the assets your bank can’t see.
Never miss a bill
Stay ahead of what’s due.
Ask Treasury AI
Your money questions, answered from your real data.