

Overview
Your recurring transactions are found on the navigation bar. Treasury automatically detects the payments that repeat — subscriptions, bills, memberships, paychecks — and lays out the month ahead so nothing catches you off guard.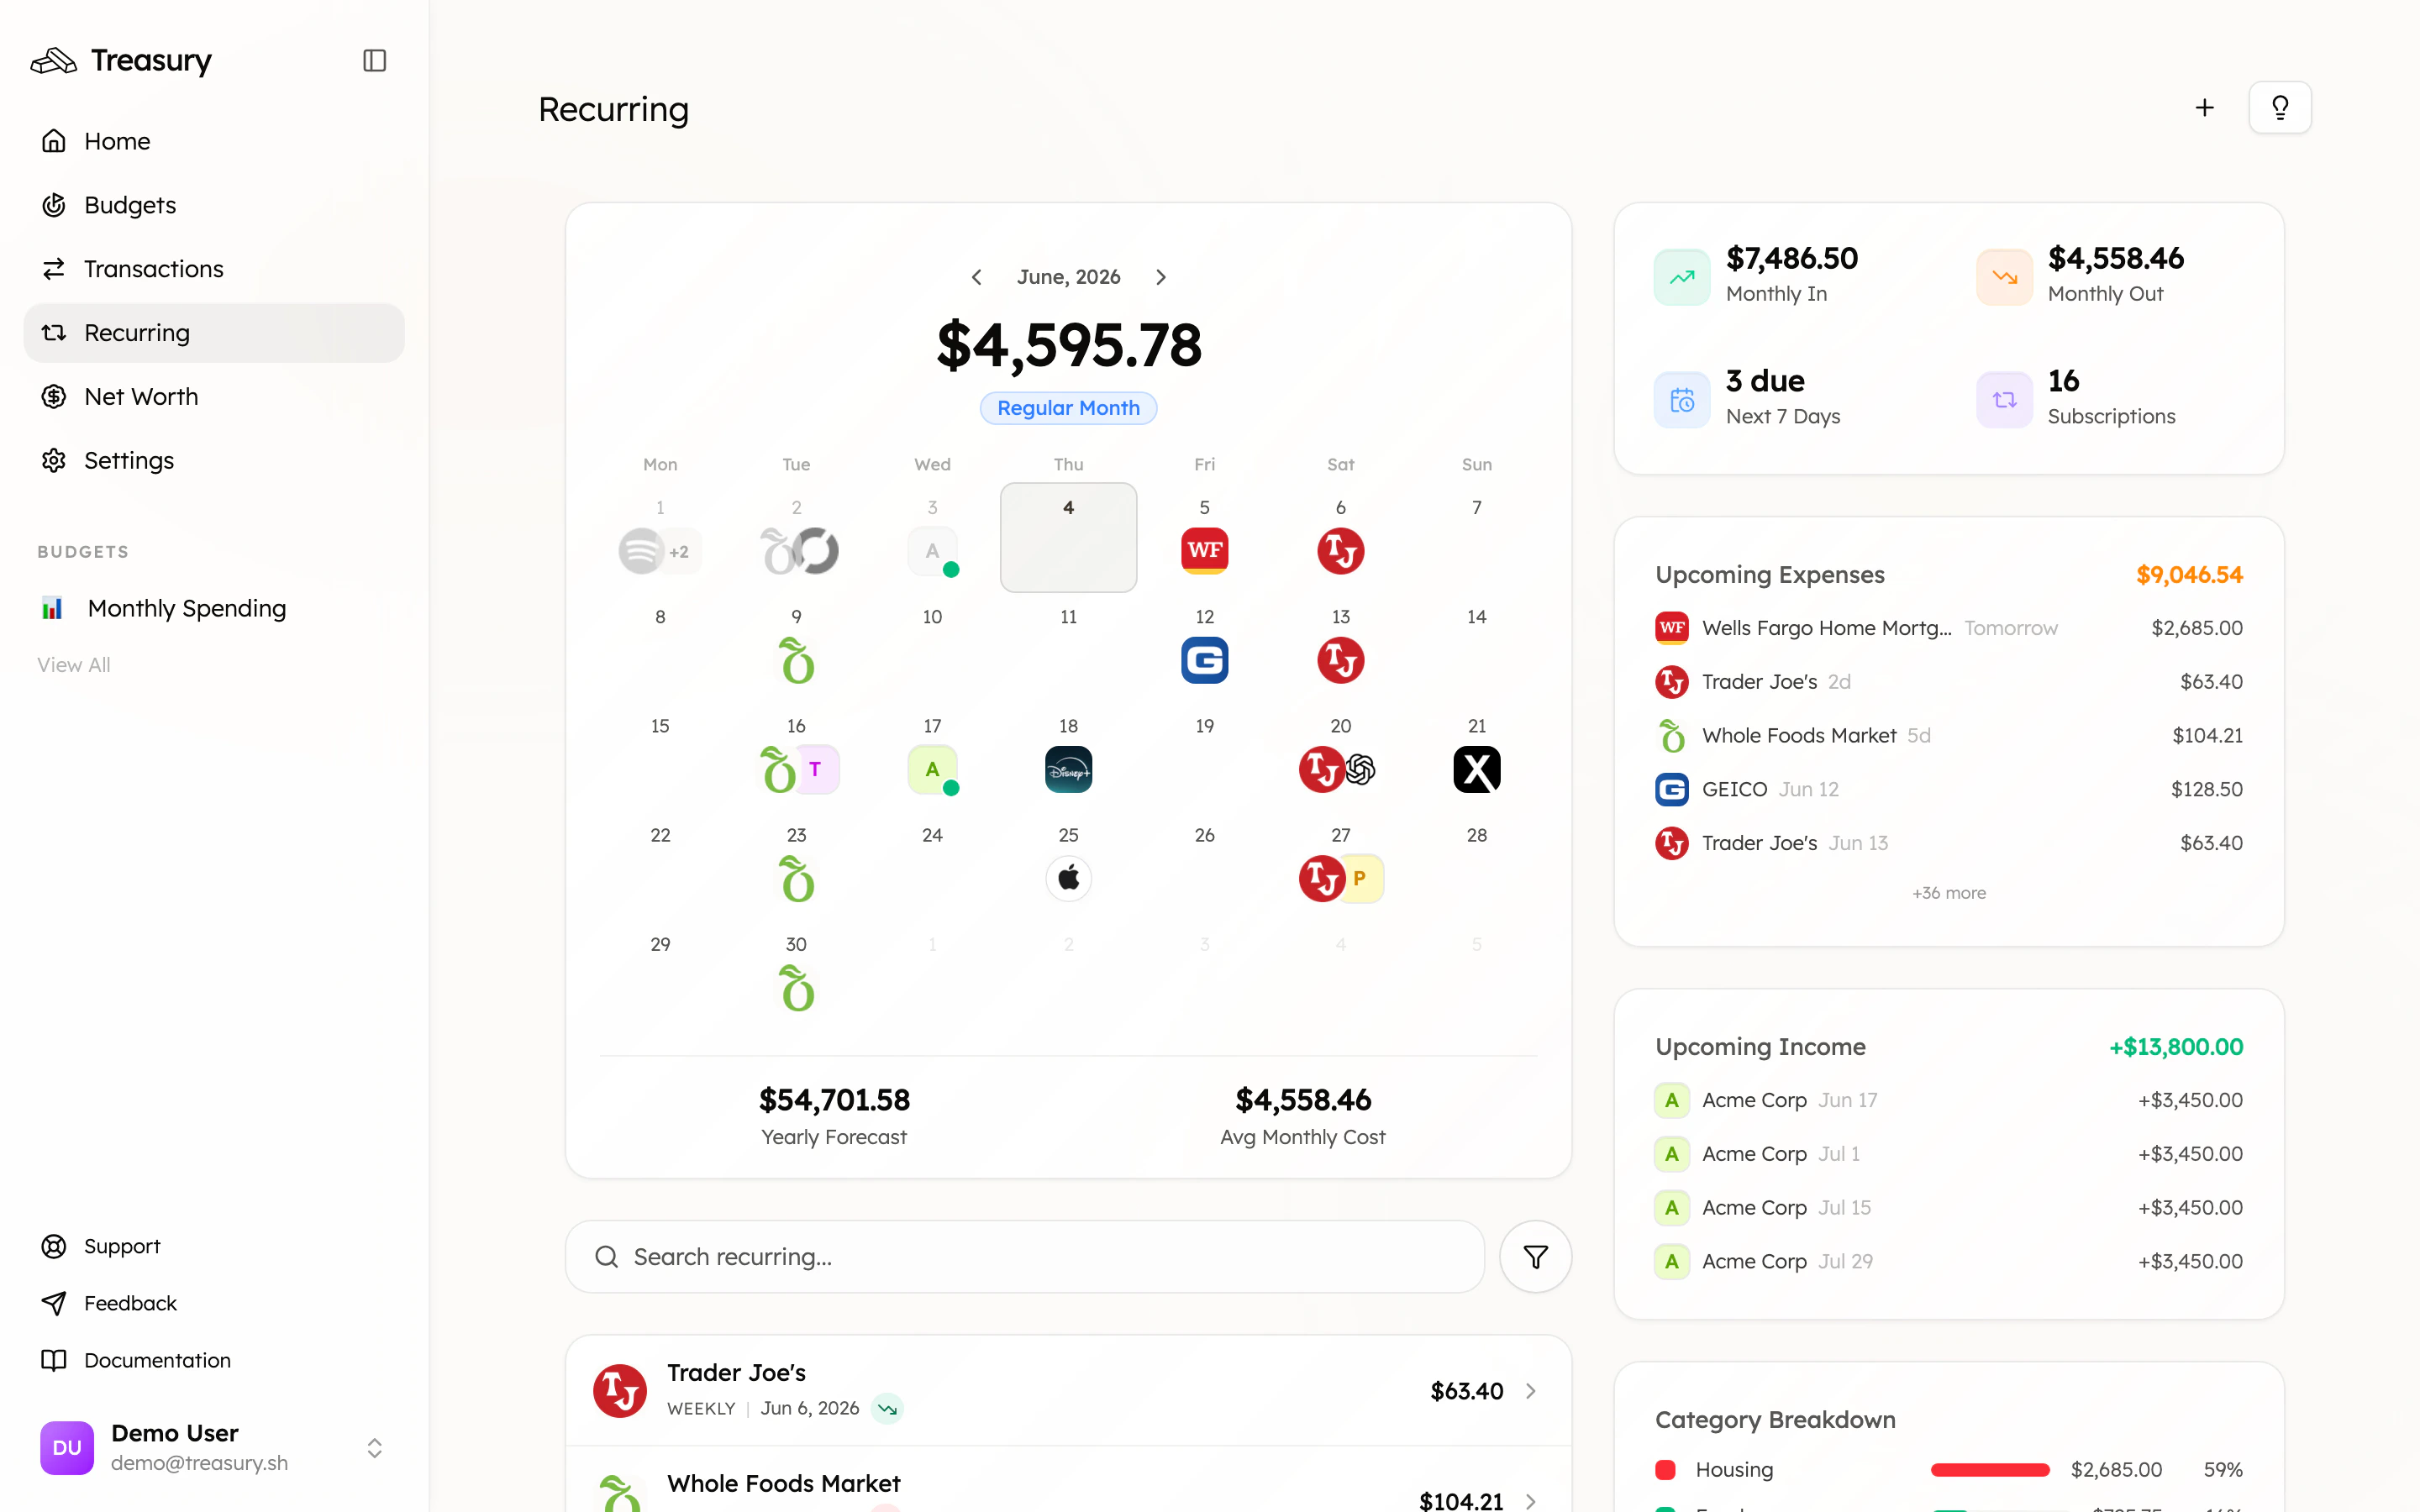
What you can do here
- See all recurring income and expenses on a calendar, with monthly totals.
- Know what’s due next and what’s coming this month.
- Edit an item’s amount, frequency, category, or next date.
- Pause, block, or delete items you no longer want tracked.
- Accept or reject newly detected recurring payments.
What are Recurring Transactions?
Recurring transactions are financial activities that occur on a regular basis, such as subscriptions, memberships, or scheduled payments. Treasury automatically identifies these transactions from your connected accounts and lists them in the Recurring Transactions page, allowing you to easily track and manage them. From the Recurring Transactions page, you can:- View all your recurring income and expenses in one place.
- Edit details like amounts, frequency, category, or next occurrence.
- Delete or pause recurring transactions when needed.
- Add manual recurring transactions that may not be automatically detected.
Review detected payments
Treasury automatically detects recurring payments from your connected accounts — but anything it spots and isn’t yet sure about waits for your decision in the review inbox, opened from the review prompt on the Recurring page.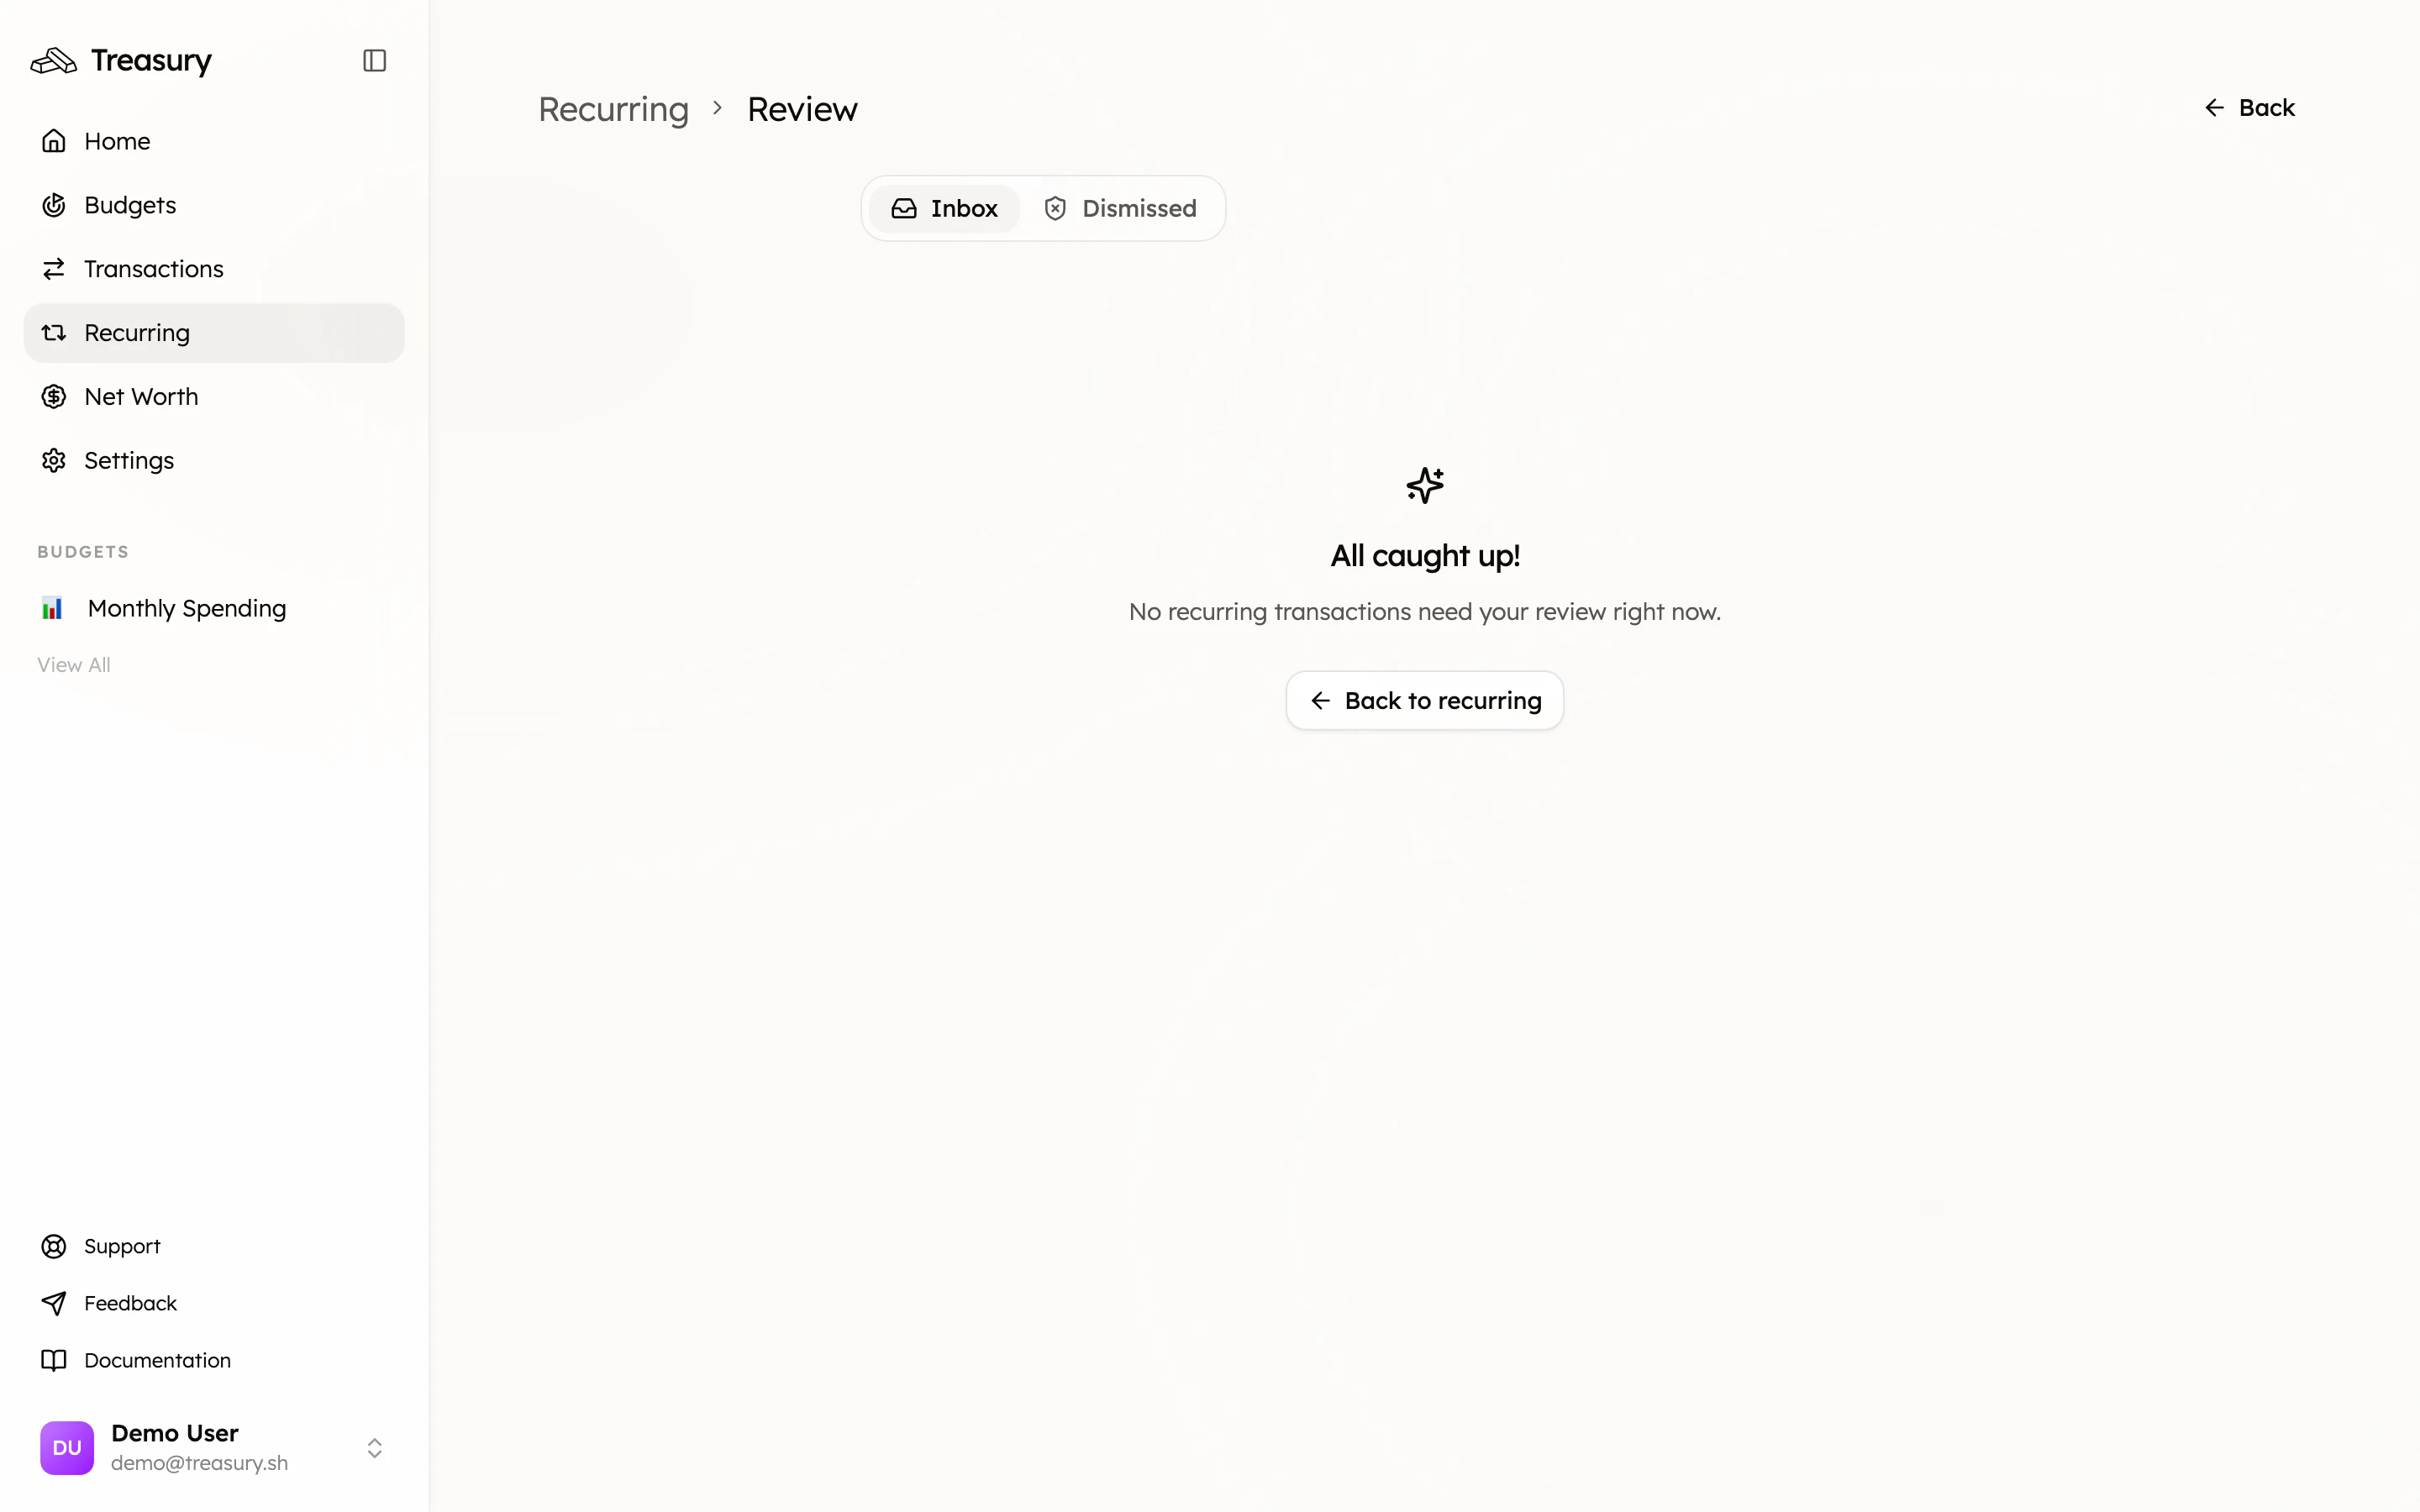
- Inbox — newly detected recurring payments waiting for your decision.
- Dismissed — detections you’ve rejected, kept so you can restore one if you change your mind.
- Click the item to open the Review Recurring Transaction window.
- Review and edit the details if needed:
- Description — rename for clarity.
- Account — confirm which account it’s tied to.
- Average Amount / Last Amount — adjust if the detected amounts are off.
- Frequency — how often it occurs (e.g., Monthly, Weekly, Annually).
- Category — assign a category for reporting.
- Next Due Date — set the upcoming date if applicable.
- Choose an action:
- Confirm — adds it to your recurring list so it counts toward your monthly totals and upcoming bills.
- Dismiss — declines the detection (use this when a one-off is mistaken for a subscription); it moves to the Dismissed tab.
Manage Recurring Transactions
Open Recurring and select an item from the list to open its details.Editing a Recurring Transaction
- Select Edit (the pencil icon).
- In Edit Recurring Transaction, update Name, Amount, Billing Cycle, Category, Start Date, or Payment Source as needed.
- Select Save Changes.
Deleting a Recurring Transaction
You can delete the tracked recurring item without deleting its posted transactions:- Open Recurring and select the item.
- Select Edit (the pencil icon).
- In Edit Recurring Transaction, select Delete.
- Confirm with Delete.
Pausing and resuming a Recurring Transaction
Open the item’s details and select Pause. For a paused item, the action becomes Resume. Pausing retains the recurring item while excluding it from recurring totals and upcoming payments; it does not pause the actual merchant charge or bank payment.On the go
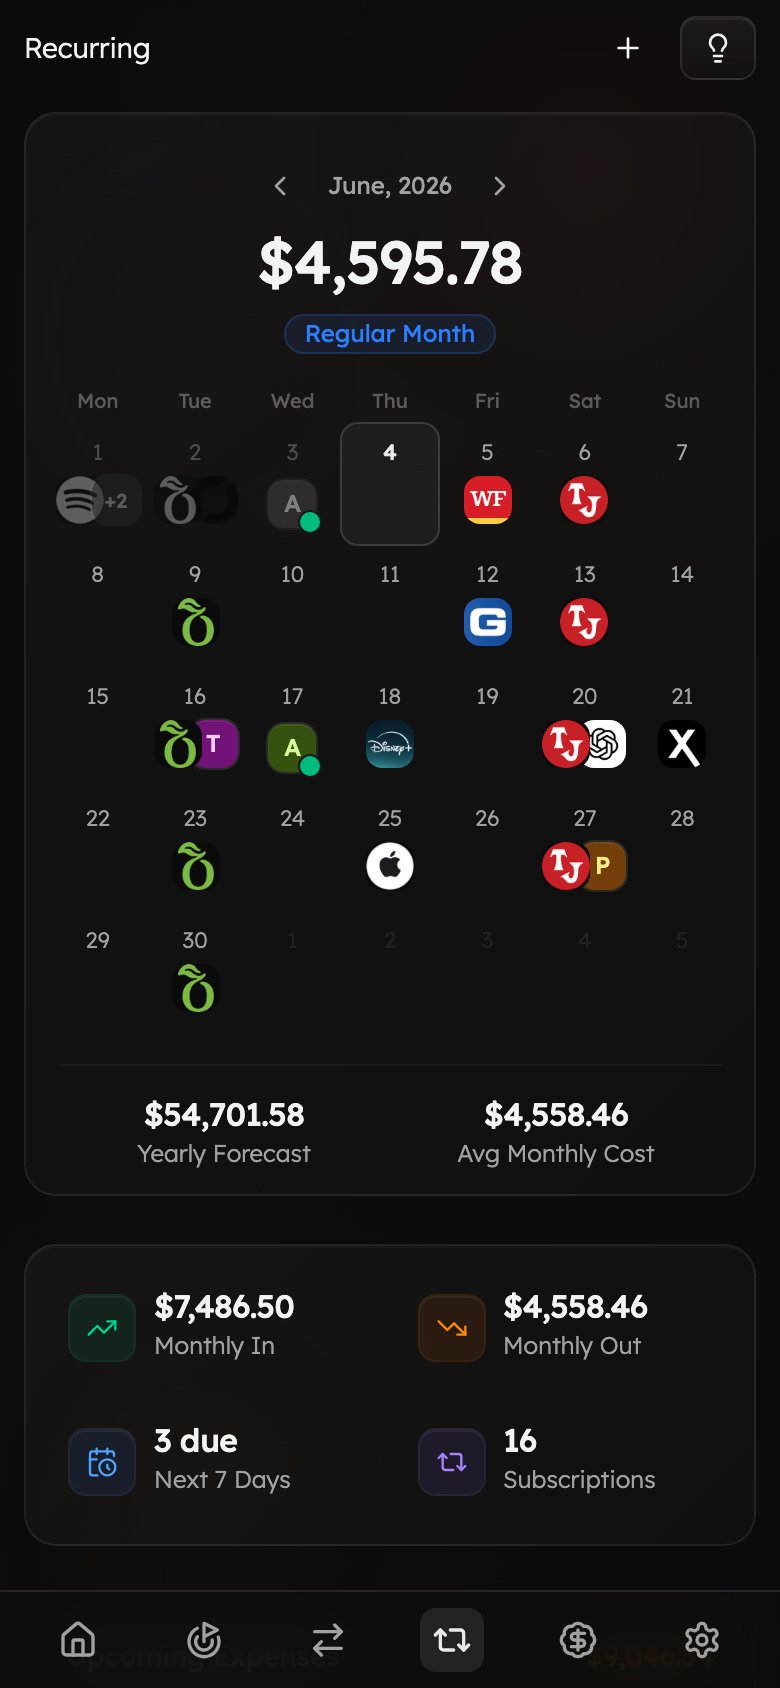
The recurring calendar, upcoming bills, and monthly totals are all available on mobile, so you can check what’s due before it hits your account.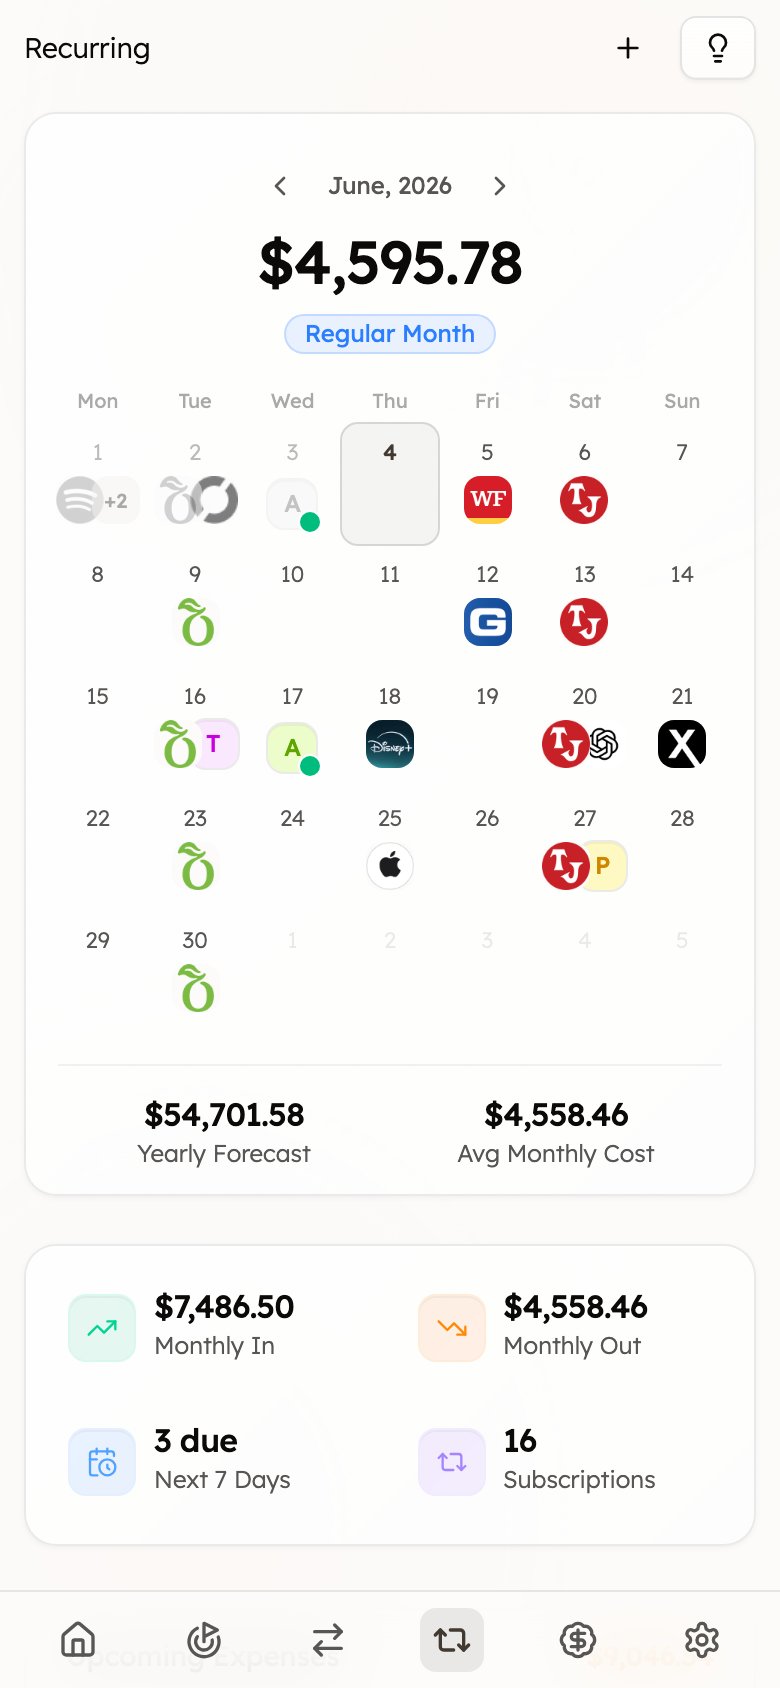
FAQ
How does Treasury know what's recurring?
How does Treasury know what's recurring?
It detects patterns in your synced transactions — same merchant, similar amount, regular cadence
— and surfaces them. New detections wait for your confirmation in the review
inbox.
What's the difference between pausing and deleting?
What's the difference between pausing and deleting?
Pause keeps the recurring item but excludes it from recurring totals and upcoming payments.
Delete removes the recurring item and unlinks its posted transactions, which remain in
Treasury. The same pattern may be detected again later. Neither action cancels the actual
payment.
My subscription price changed — will the forecast update?
My subscription price changed — will the forecast update?
Treasury follows the latest amounts automatically, and you can edit the recurring
transaction to set the expected amount or frequency precisely.
Related
Transactions
The individual payments behind each recurring series.
Never miss a bill
Use the recurring calendar to stay ahead of what’s due.
Connections
Connect accounts so Treasury can detect subscriptions.
Budgets
Plan around your fixed recurring costs.