Overview
Your transactions are found on the navigation bar. This is where you can view, manage, and categorize all your financial activity across connected and manual accounts.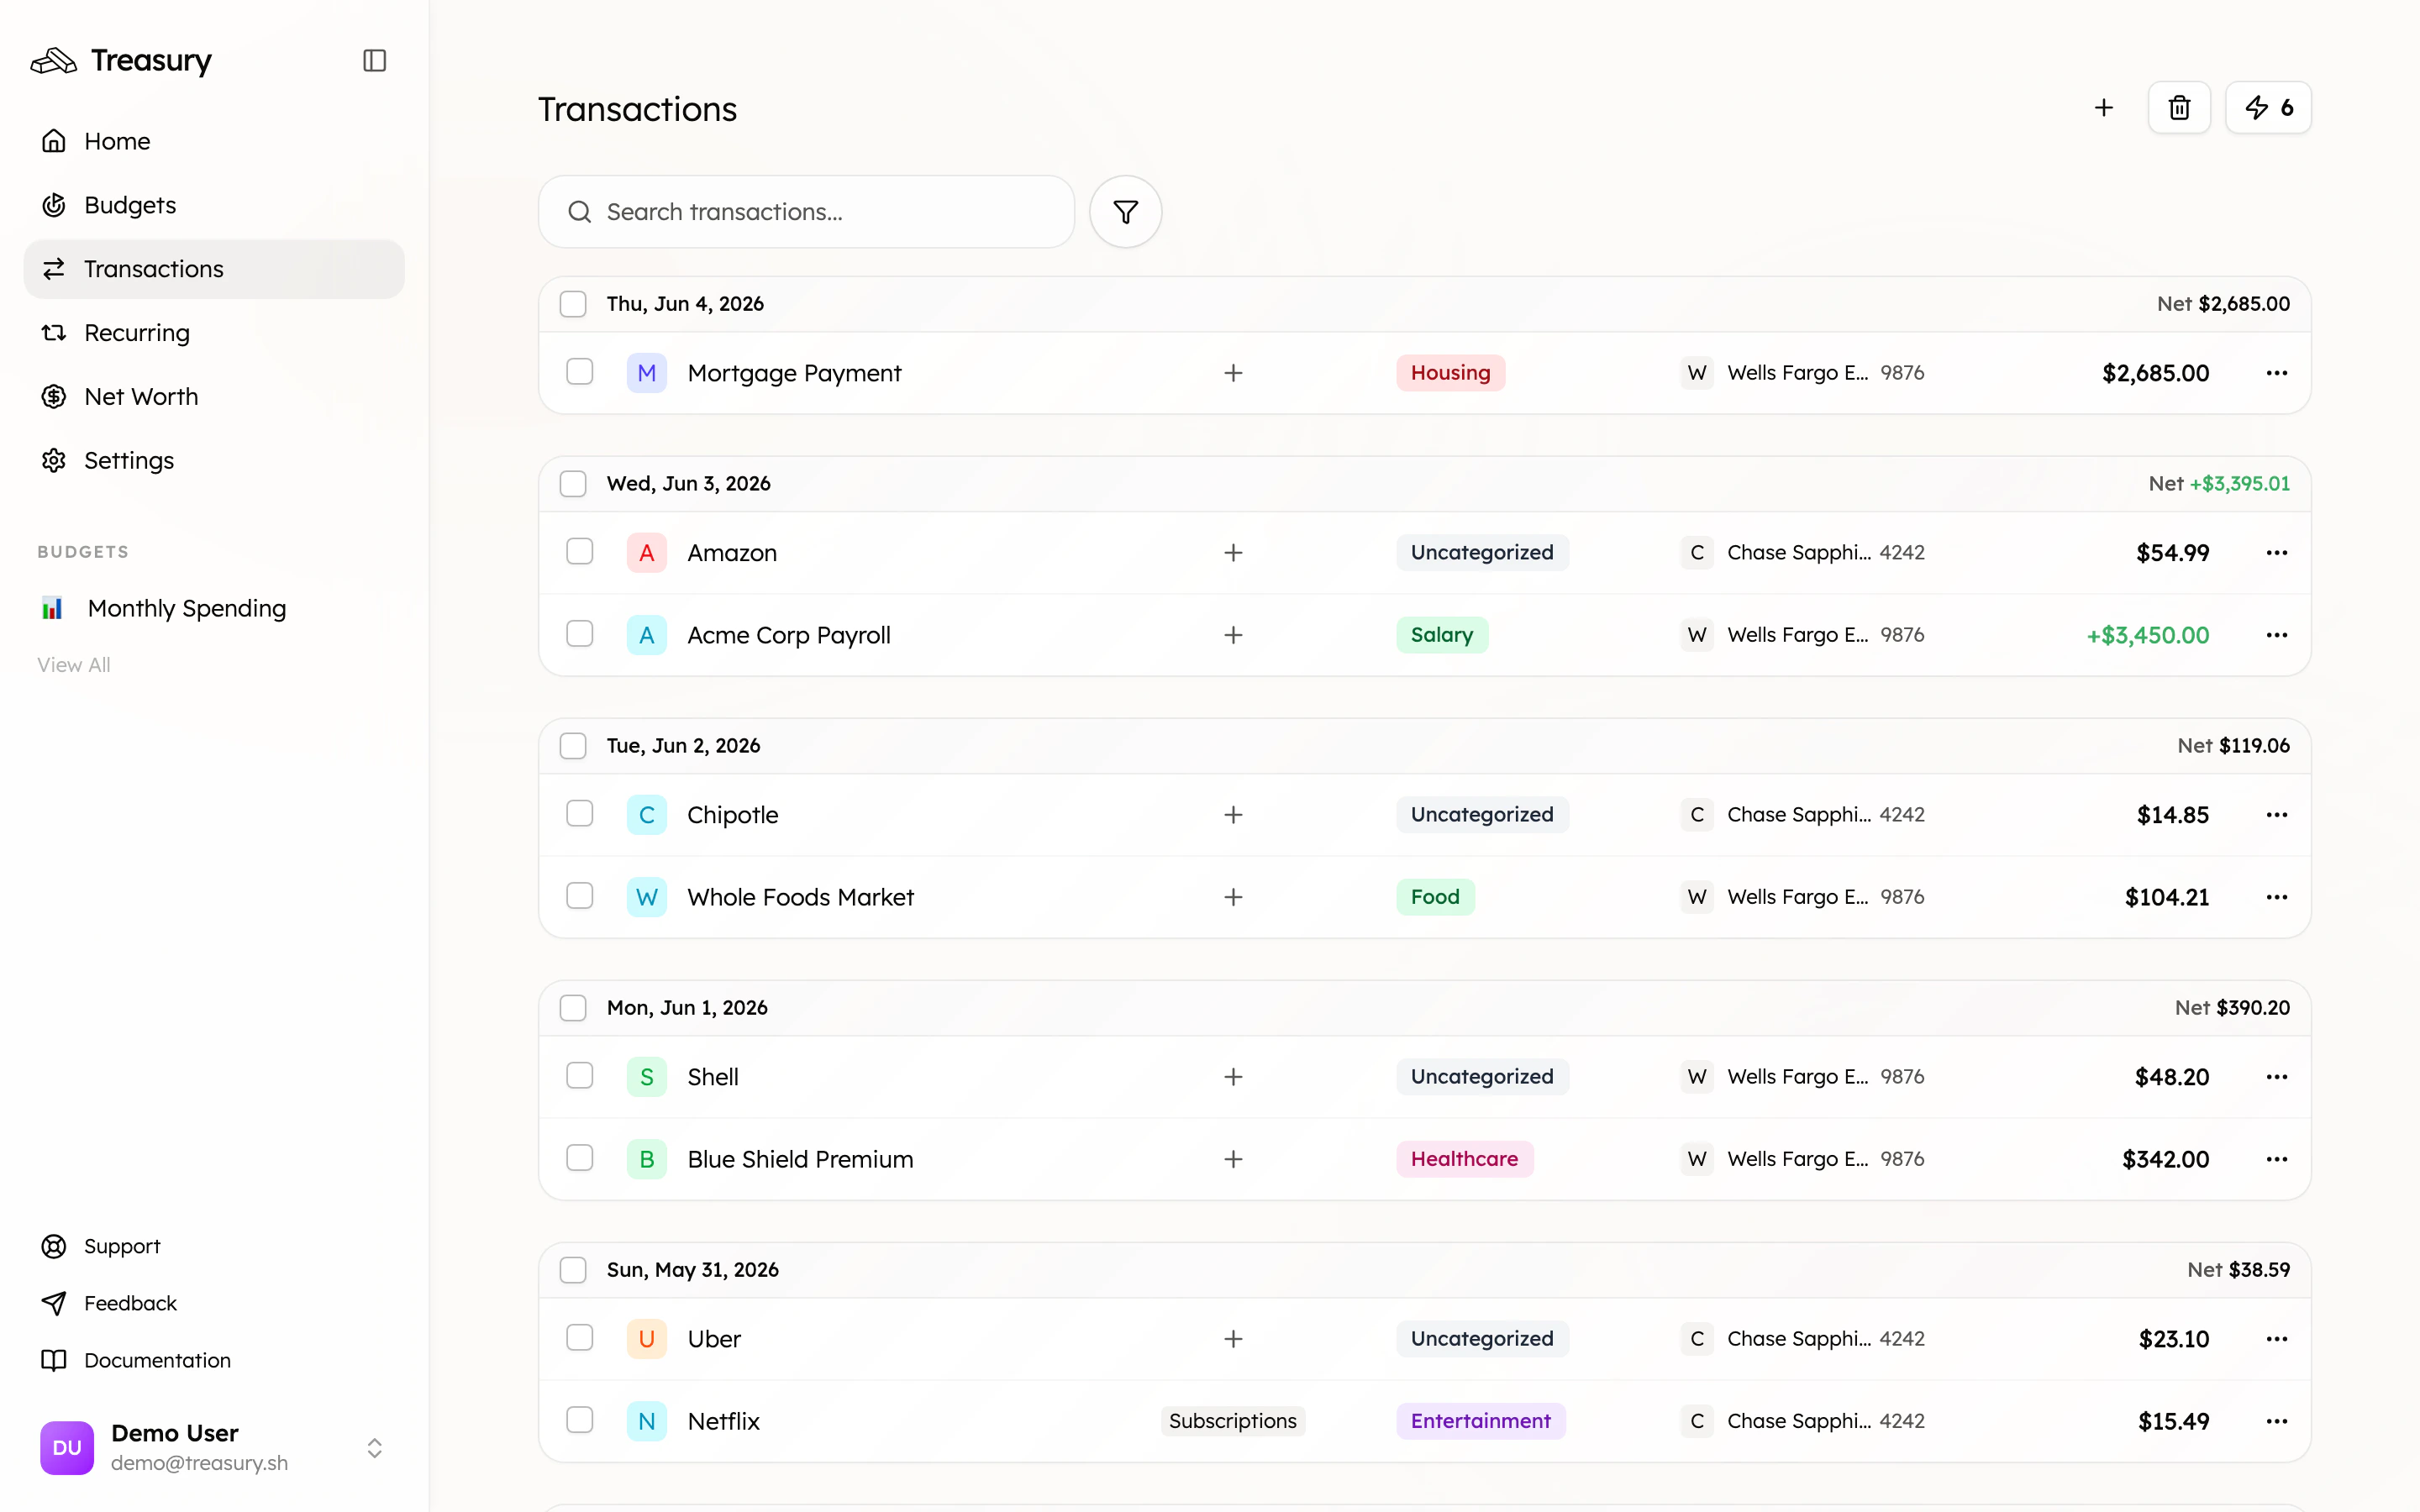
What you can do here
- See every inflow and outflow across all accounts, grouped by day.
- Categorize transactions individually or in bulk.
- Filter by category, account, or tag to find anything fast.
- Edit details — rename, re-date, note, split, or exclude.
- Add manual transactions and recover deleted ones from Trash.
What are Transactions?
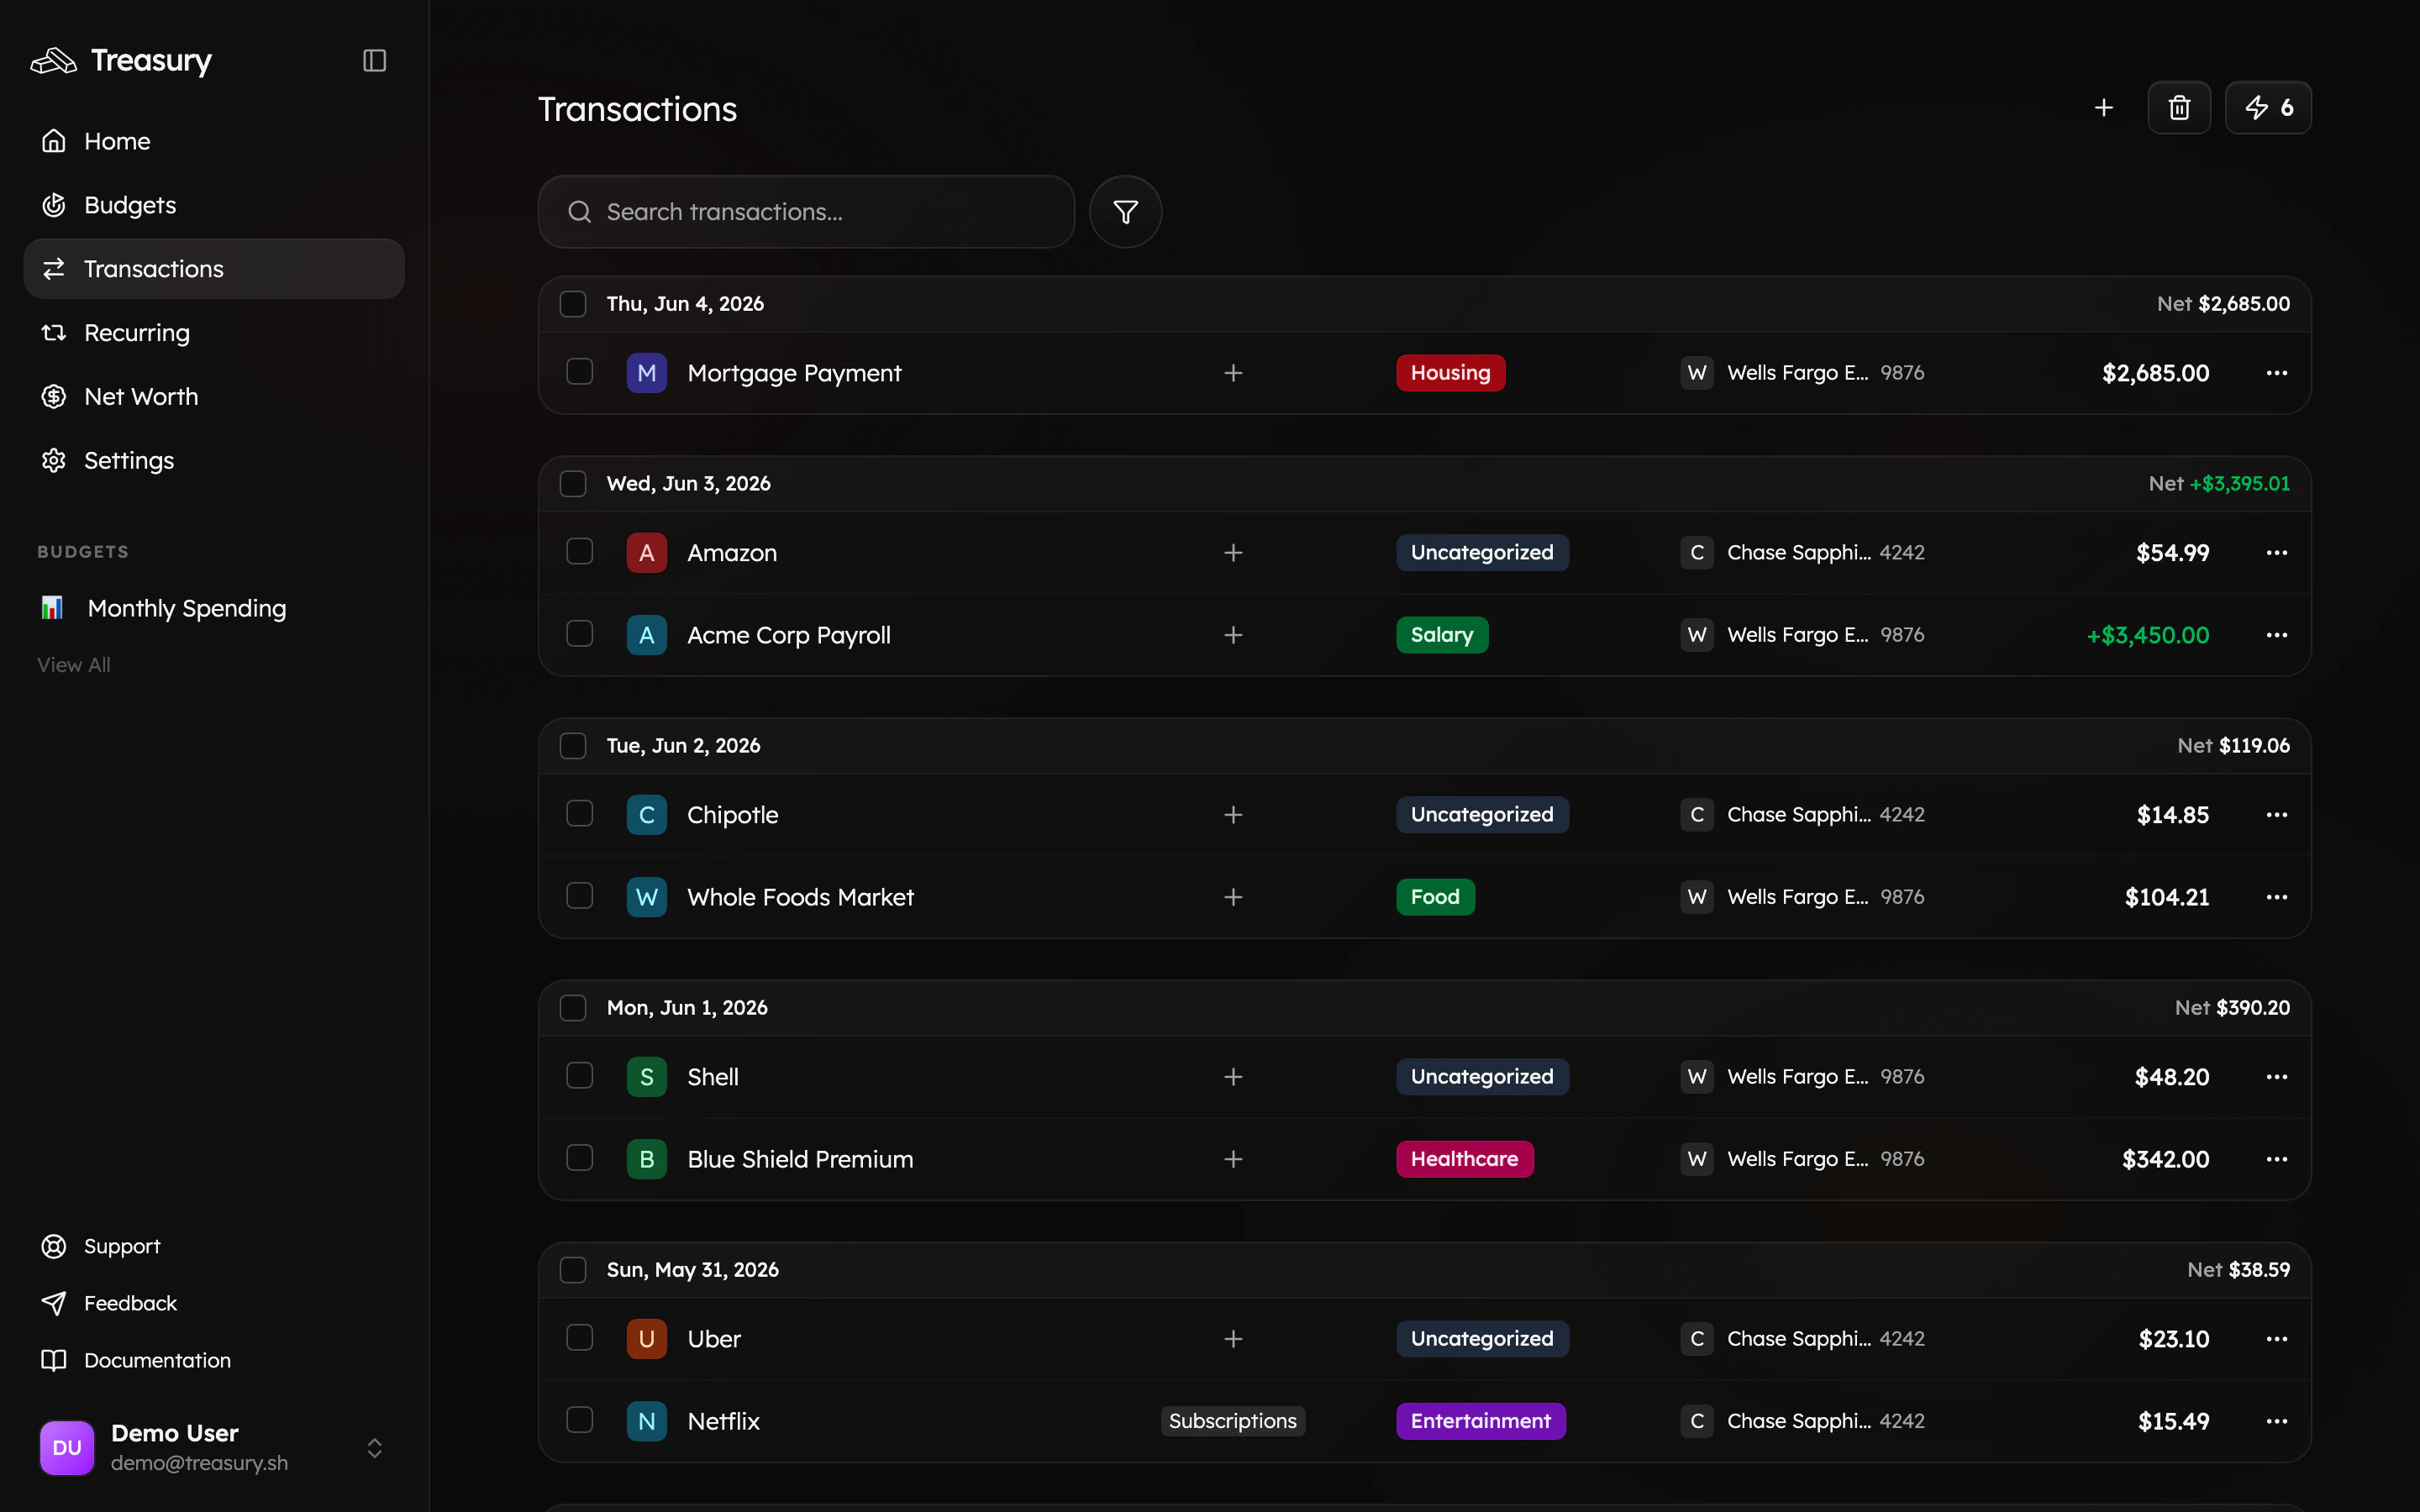
The Transactions page is where all your financial activity lives. It shows every inflow and outflow across your connected and manual accounts — including purchases, transfers, deposits, and savings contributions. Each transaction is automatically synced from your bank connections (via Plaid) or added manually, and can be categorized based on your Categories and Tags. This helps you understand where your money is going and how it aligns with your budgets. Transactions are grouped by day, with a running Net total for each day so you can see at a glance whether a given day was net positive or negative. From the Transactions page, you can:- View all your income, expenses, and savings in one place.
- Filter by account, category, or tag.
- Add or edit details like descriptions, notes, or categories.
- Split, merge, or delete transactions when needed.
Categorize a Transaction
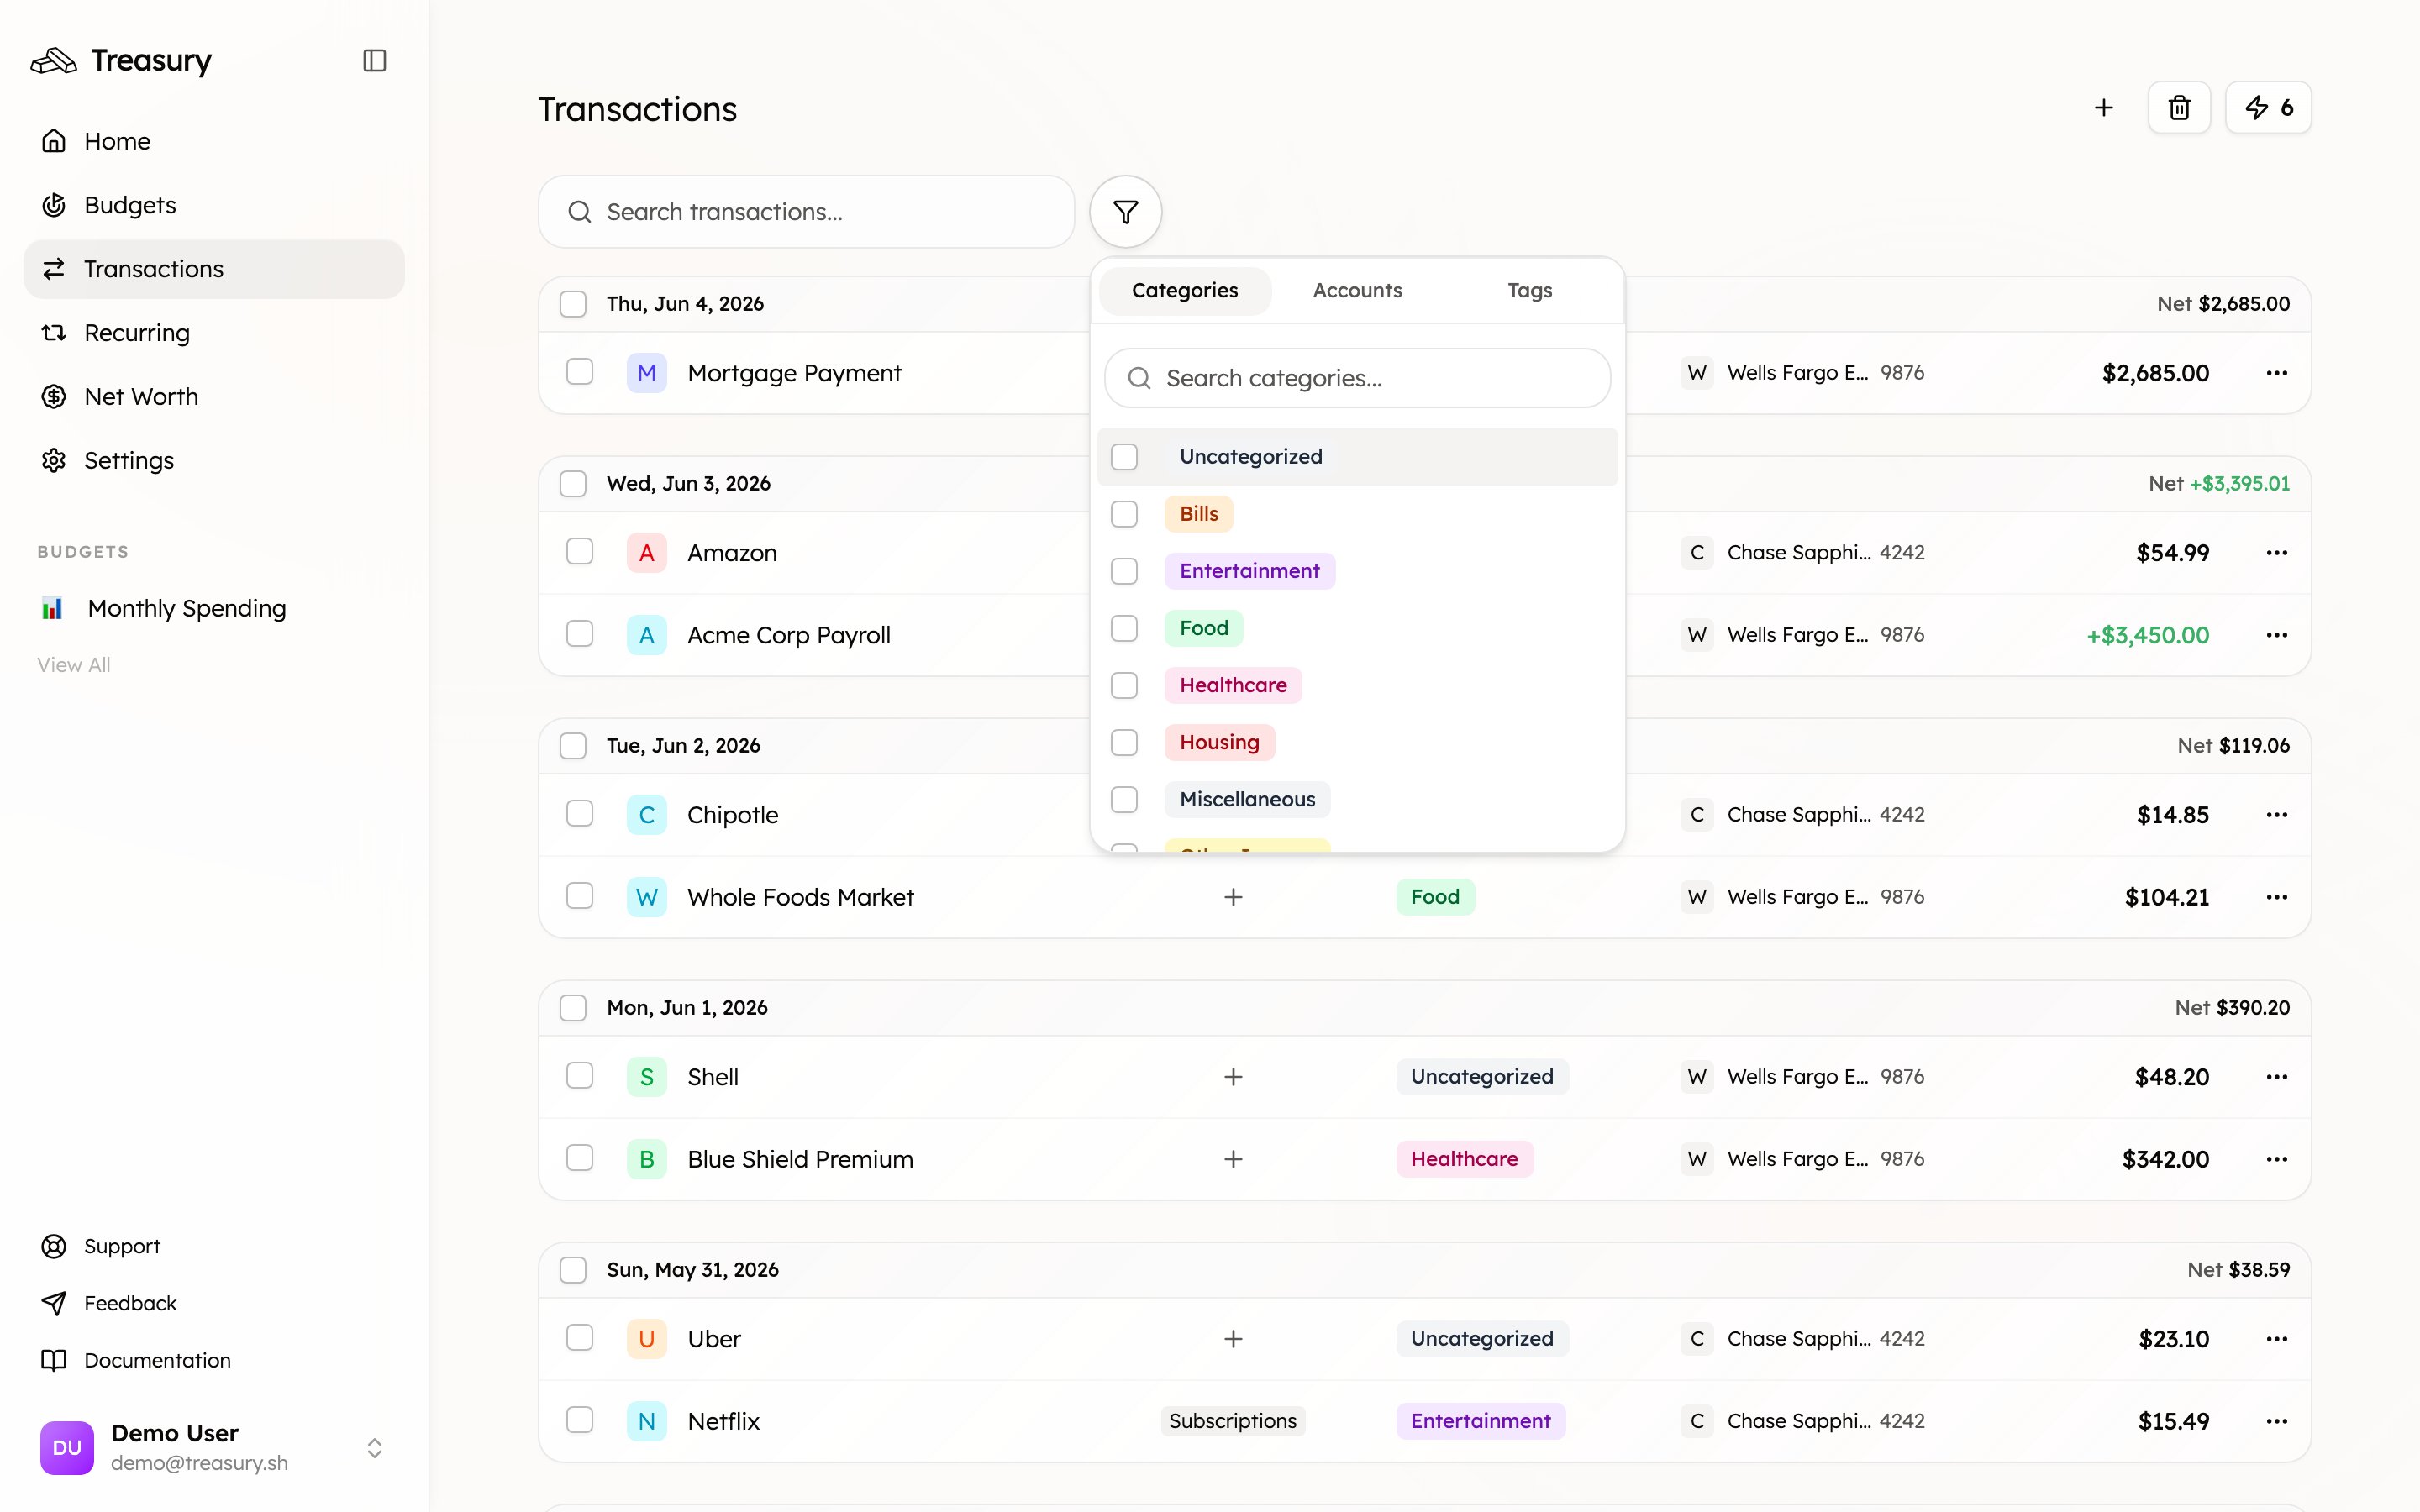
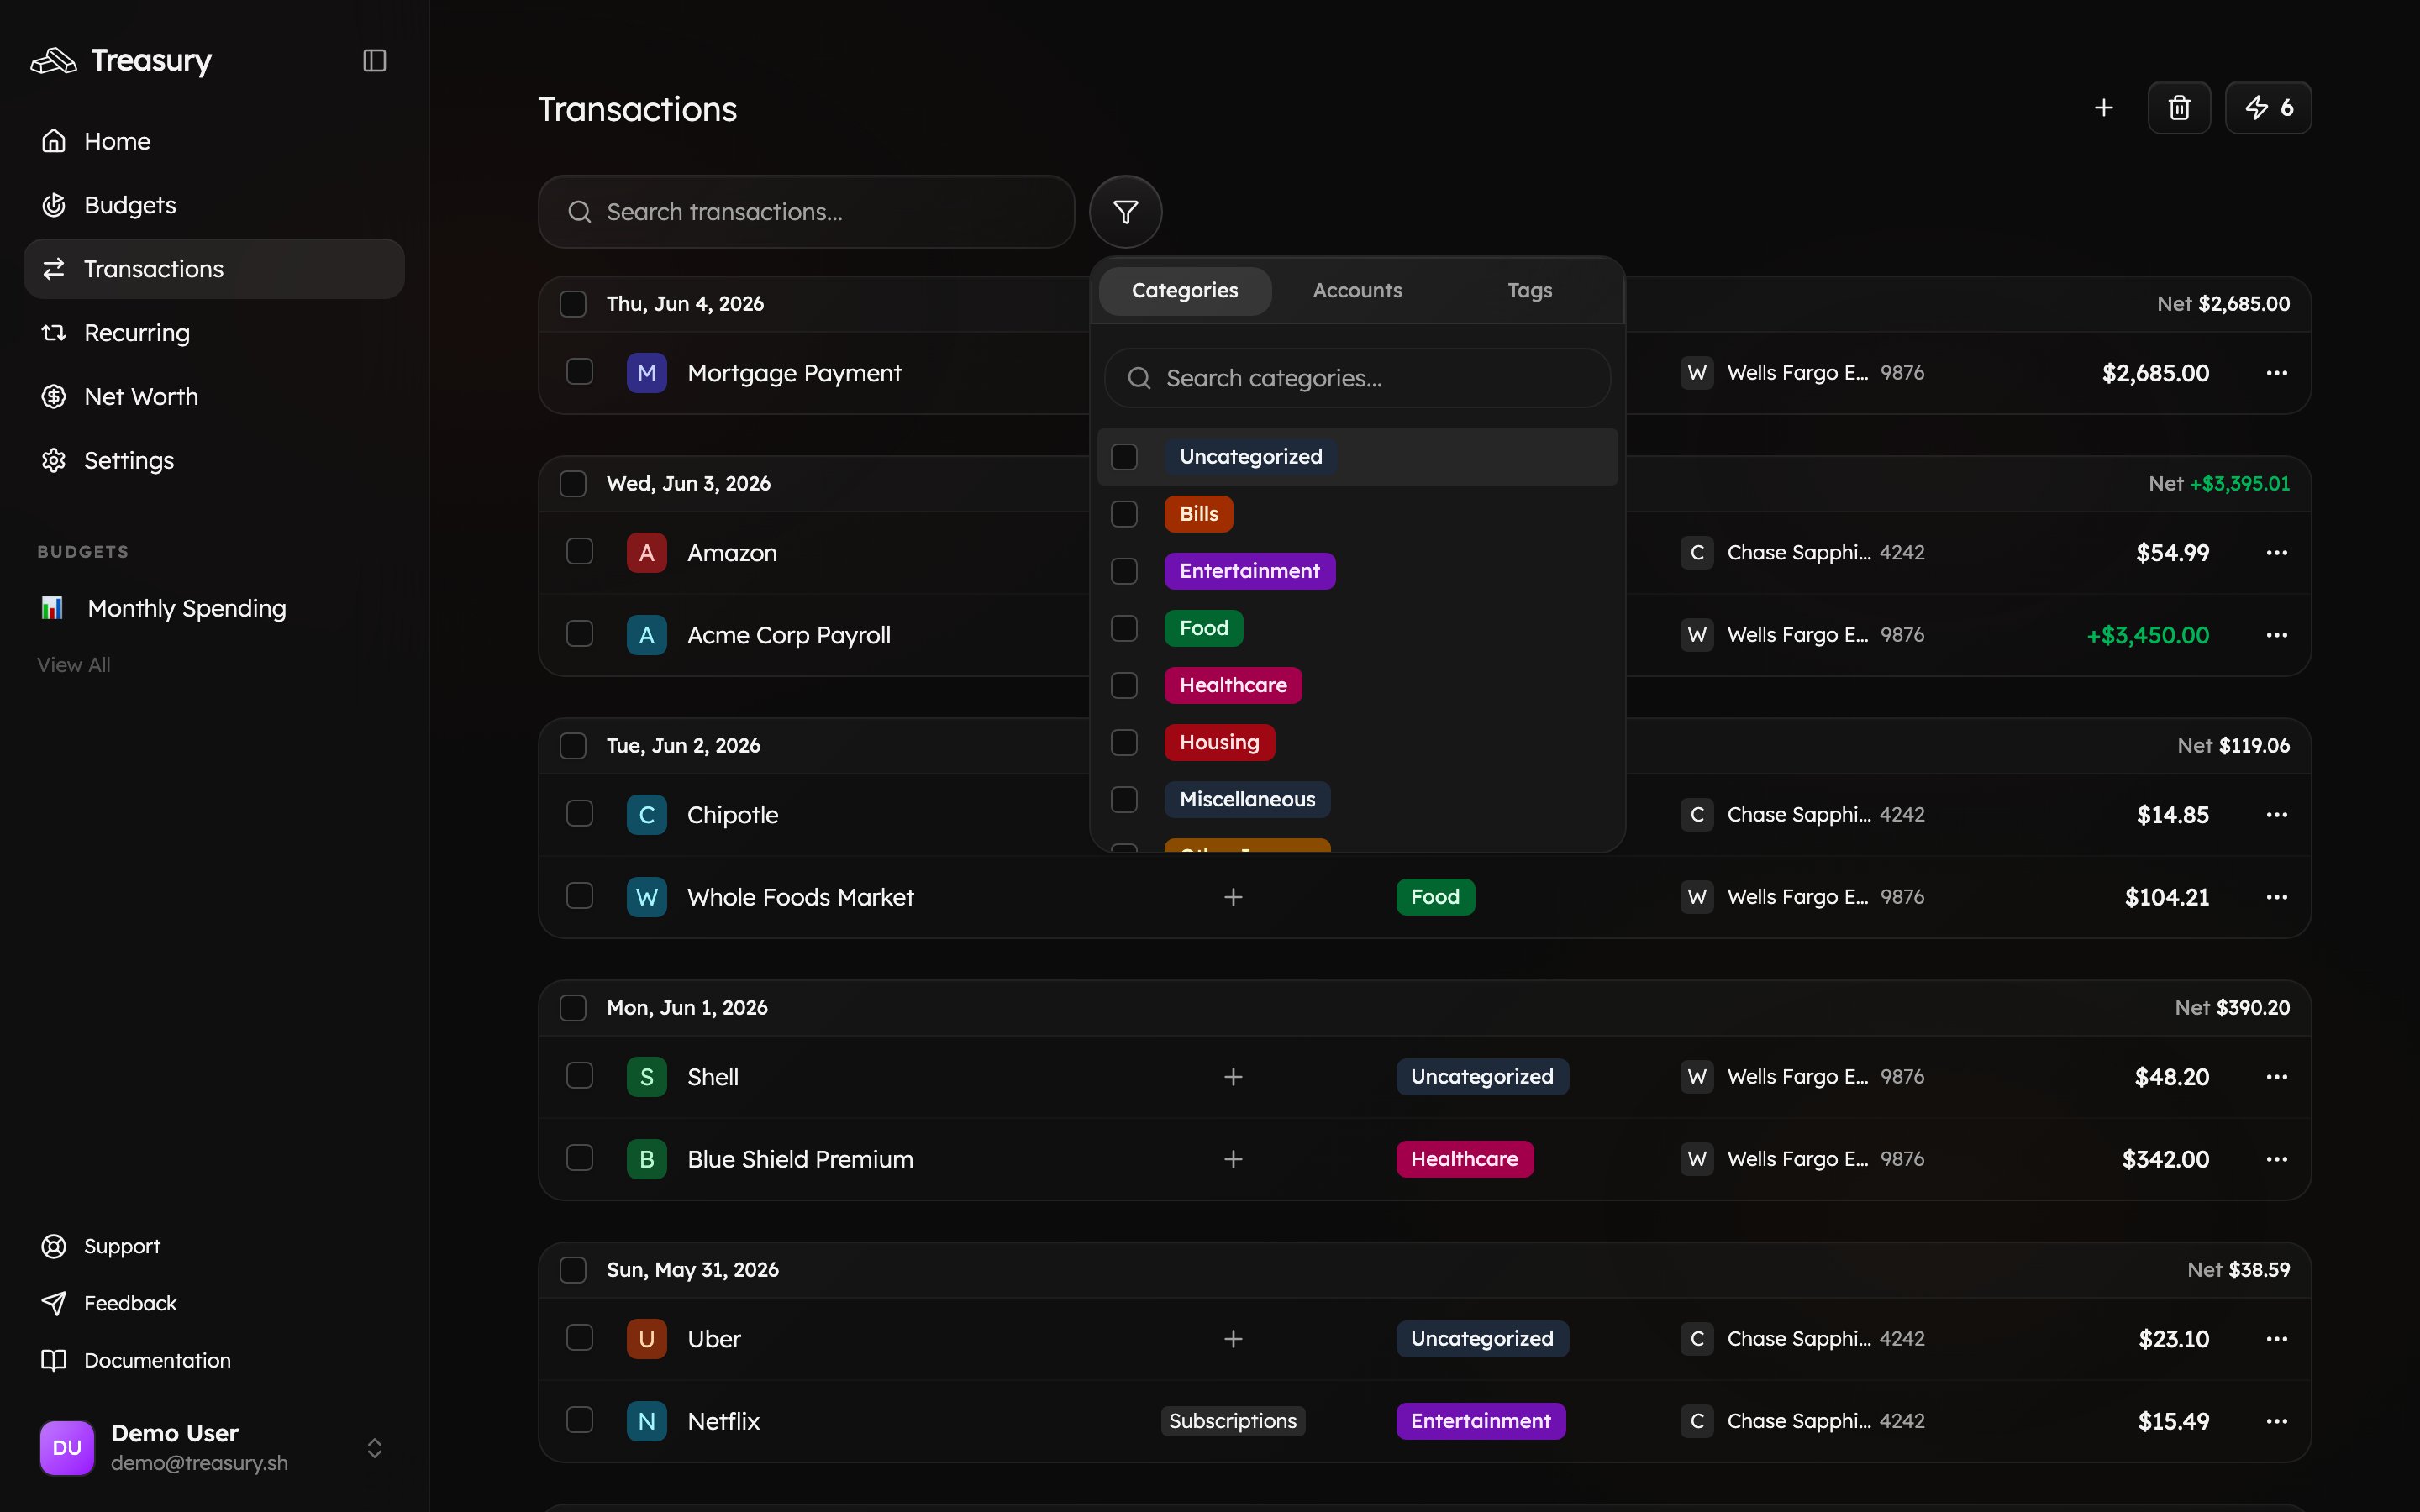
You can categorize transactions in two ways — directly from the transaction list or through the edit menu.- Option 1: Click the Category
- Option 2: Edit Transaction
If a transaction already has a category assigned (or says “Uncategorized”), you can click directly on the category label to update it. A dropdown menu will appear where you can search or select the correct category.For example, if you previously marked your “shopping” category incorrectly, you can click the shopping label and reassign it to a different category.
Categories are required before you can build budgets. If your list is full of Uncategorized items, set up your categories first — see Categories — or let Treasury do it for you with Turbo Review and auto-categorization.
Edit a Transaction
To edit a transaction, click the three dots next to a transaction and select Edit. This opens the transaction details window, where you can make a variety of changes.Available Actions
At the top of the edit screen, you’ll see several icons. Each one lets you quickly adjust different details of the transaction:| Icon | Action | Description |
|---|---|---|
| Split | Split/divide a transaction (for example, splitting a transaction 50/50 with a friend). | |
| Edit Name | Rename the transaction for clarity — helpful if the bank provided name is unclear. | |
| Edit Date | Change the transaction date if it was recorded incorrectly. | |
| Add Note | Add or edit a note or description for extra context. | |
| Exclude / Include | Toggle whether the transaction is counted in reports or budgets. Useful for removing one-off or reimbursement items. | |
| Delete | Deletes the transaction. |
- Add or remove tags to transactions by clicking on +Tags.
- Recategorize transactions using keyboard shortcuts for quick updates.
Deleting Transactions
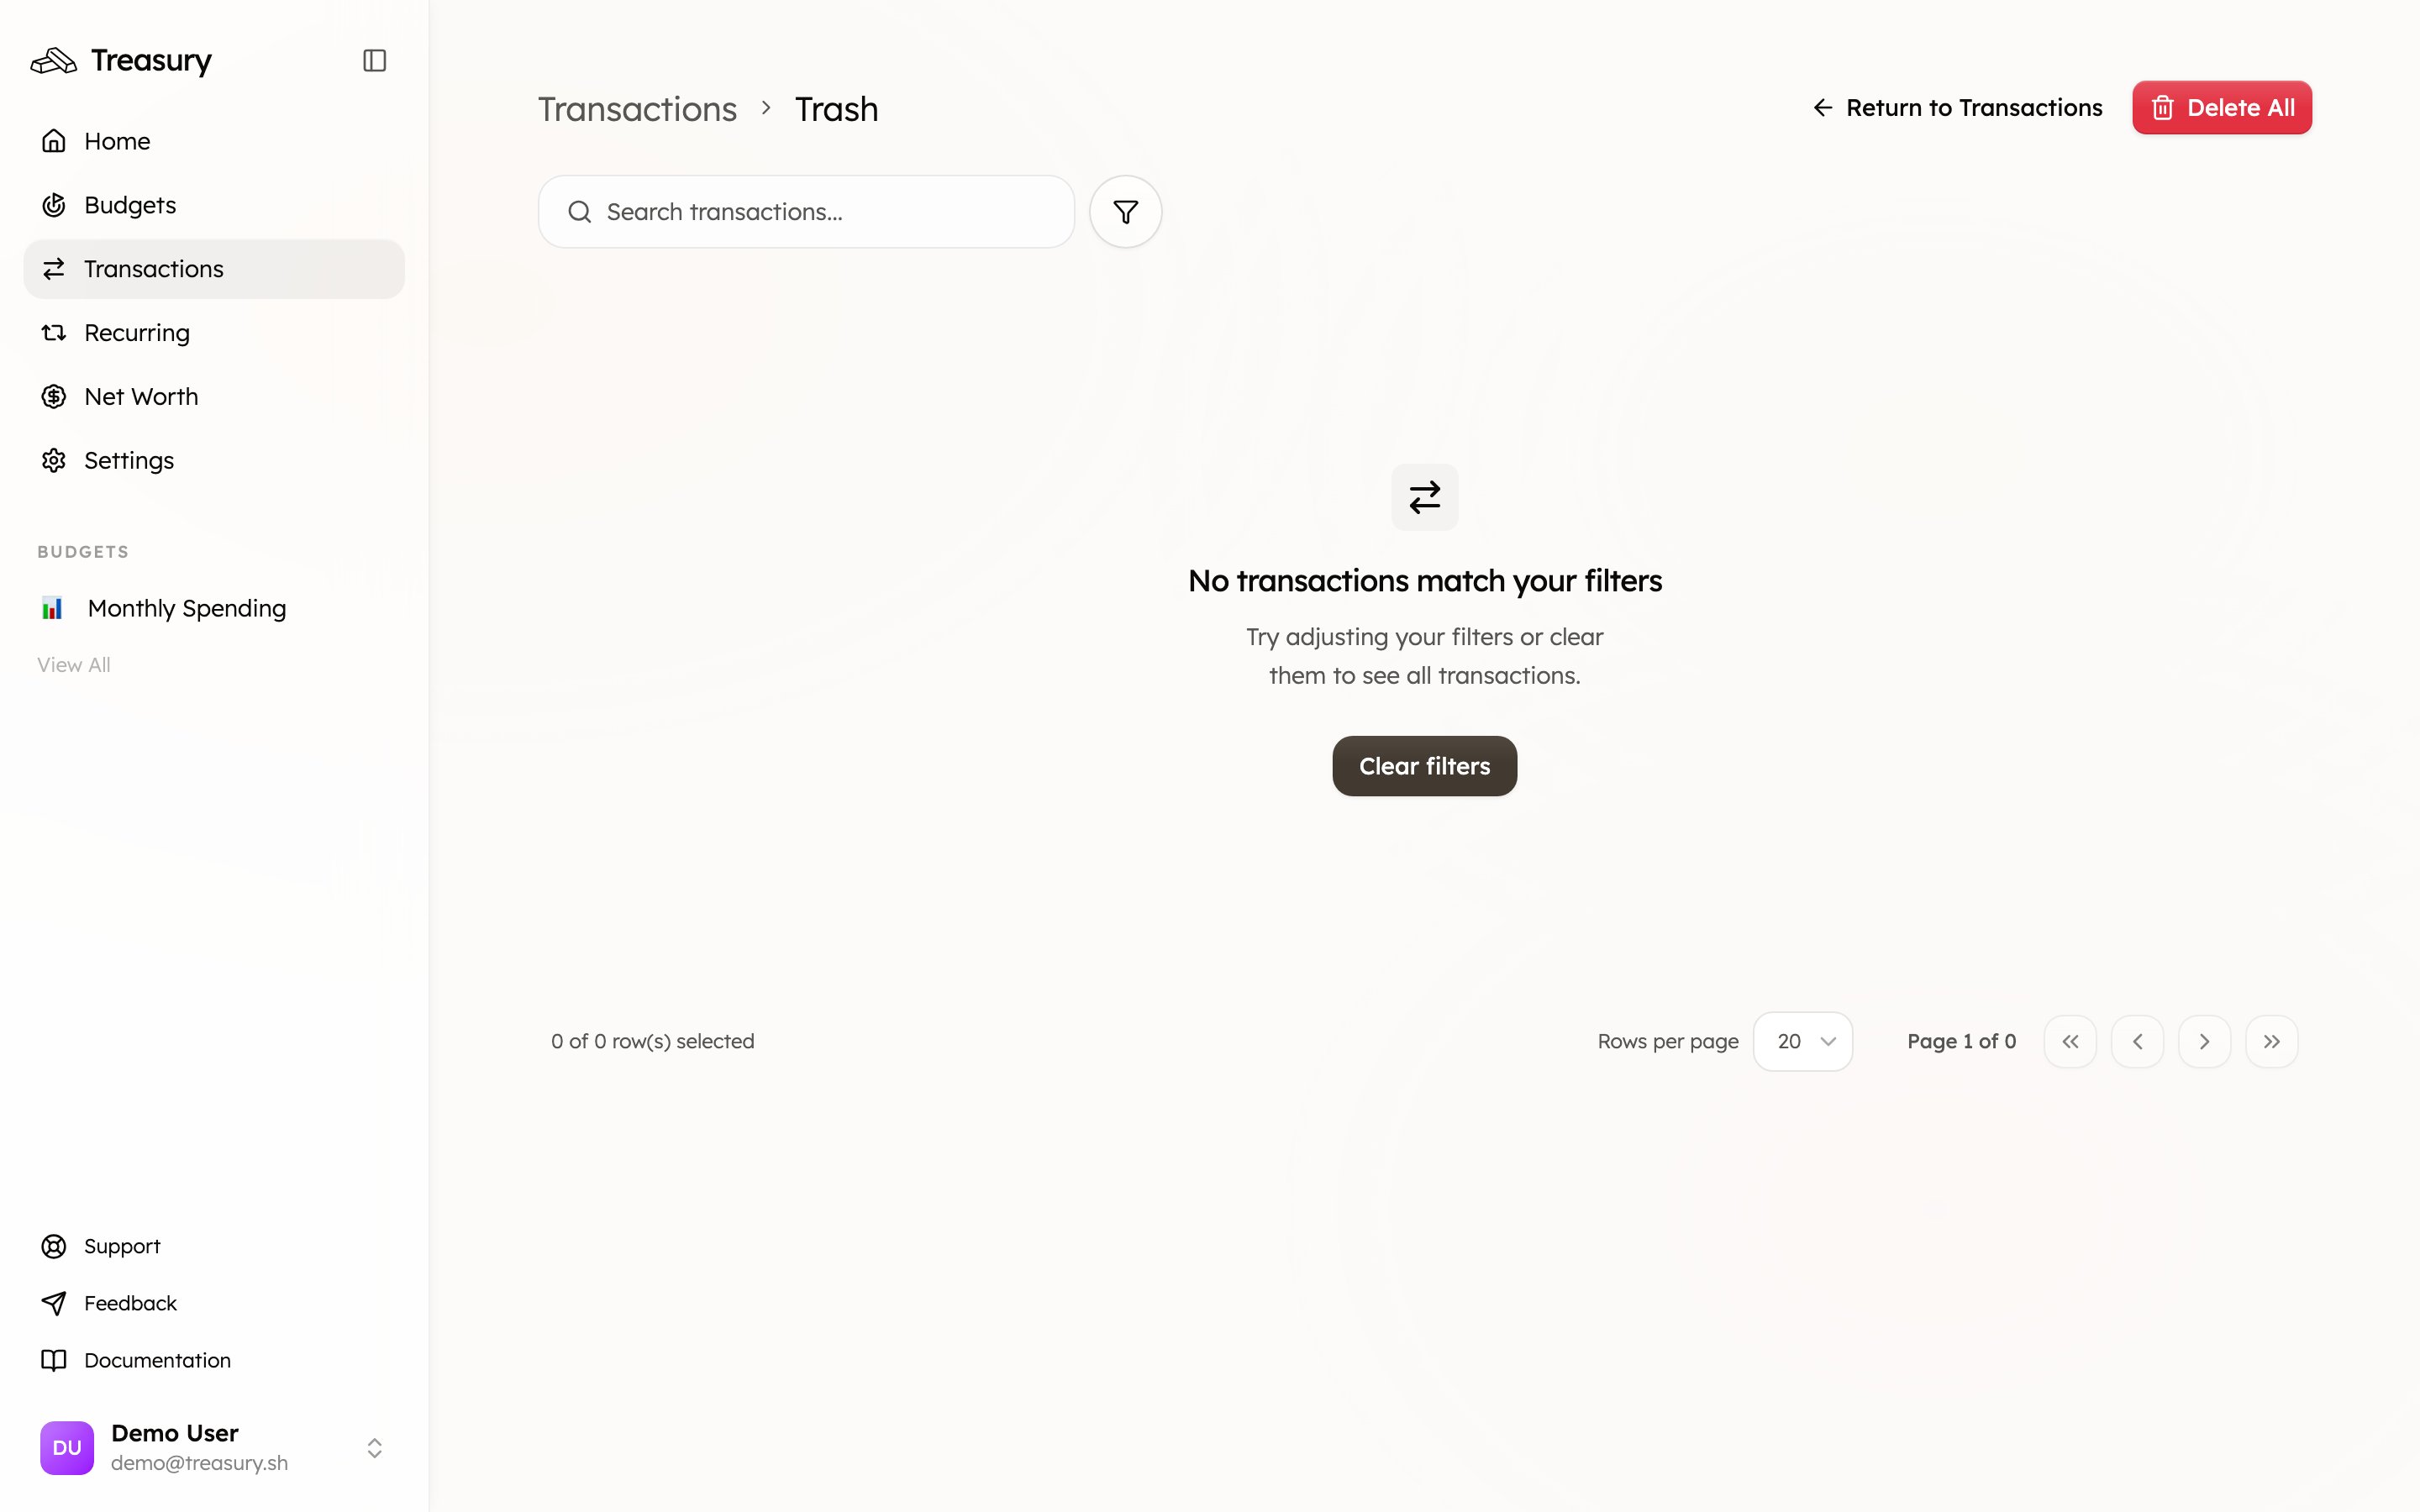
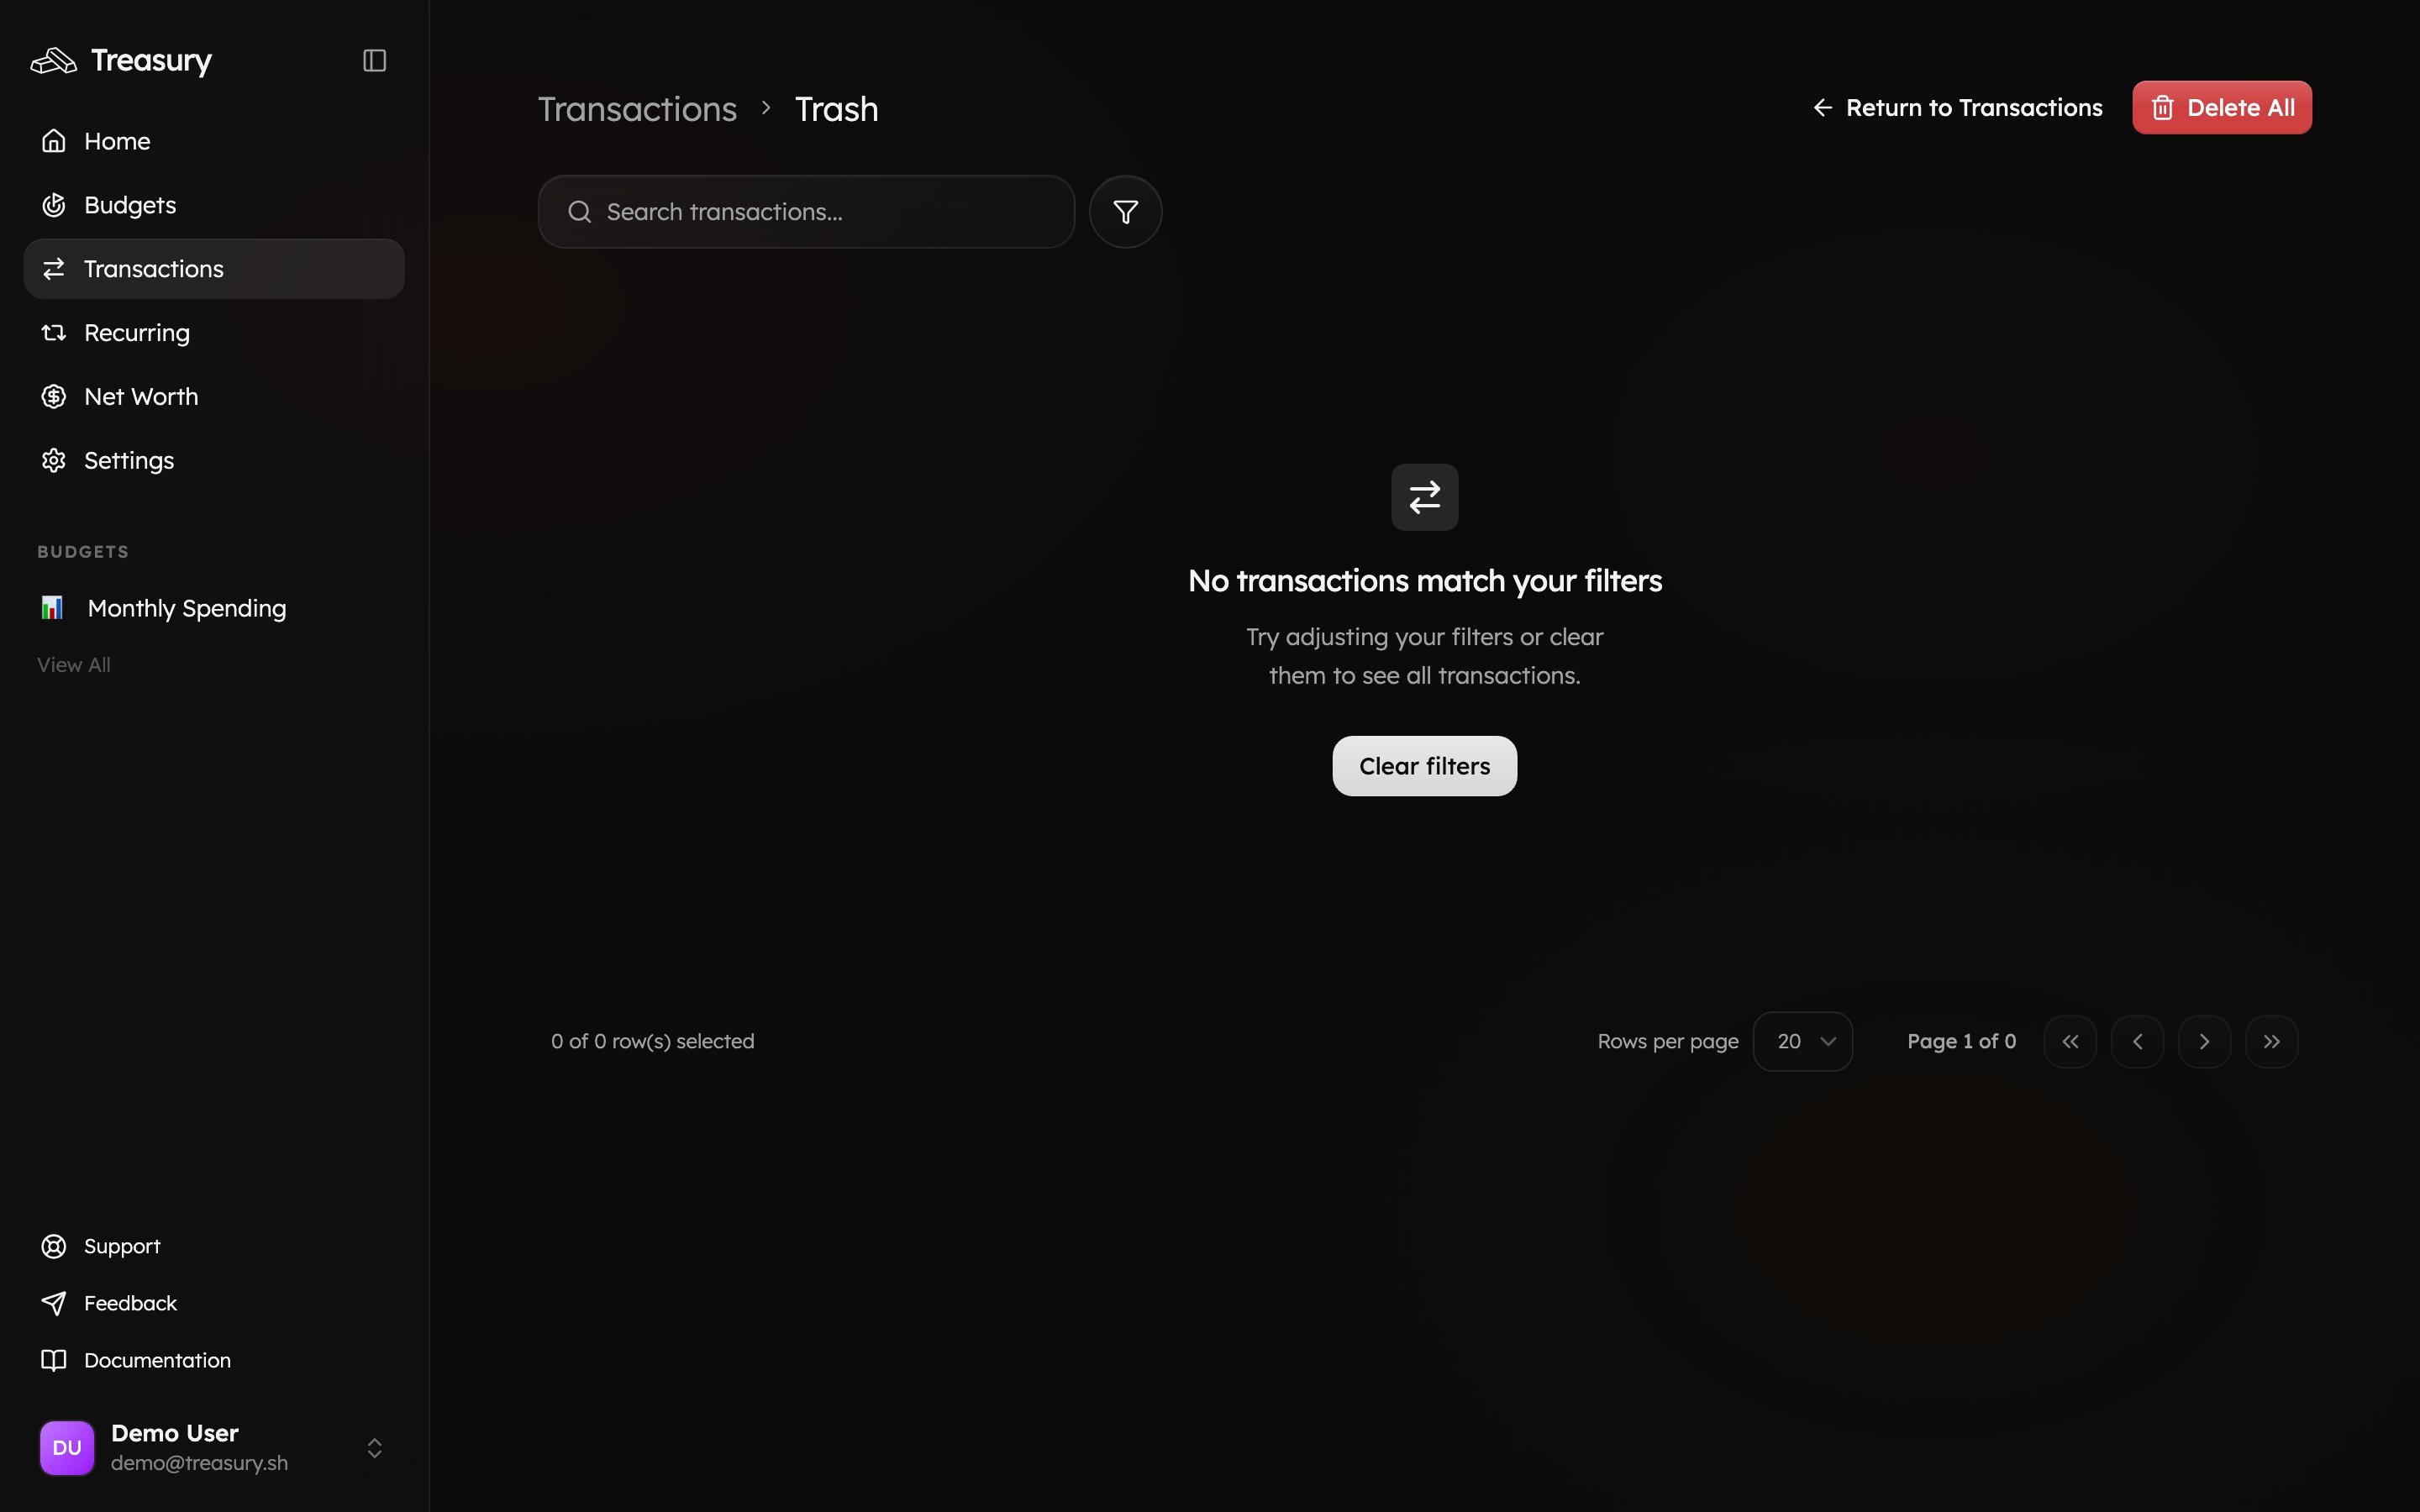
You can delete a transaction by clicking the three dots next to it and selecting Delete. A confirmation window will appear — click Delete again to permanently remove the transaction from your main Transactions page. If you accidentally delete a transaction, you can recover it from the Trash:- Click the trash can icon in the top right corner of the Transactions page.
- You’ll be redirected to the Trash view, where all deleted transactions appear.
- Click the three dots next to a transaction to:
- Restore – return the transaction to your Transactions page.
- Delete Forever – permanently remove the transaction from Treasury.
Filtering Transactions
The Filter button on the Transactions page lets you quickly narrow down your view to find specific transactions. You can filter your transactions by:- Categories – show only transactions in certain categories (e.g., Food, Rent, Travel).
- Accounts – display transactions linked to specific accounts.
- Tags – view transactions associated with a particular tag (e.g., Lapland 2025).
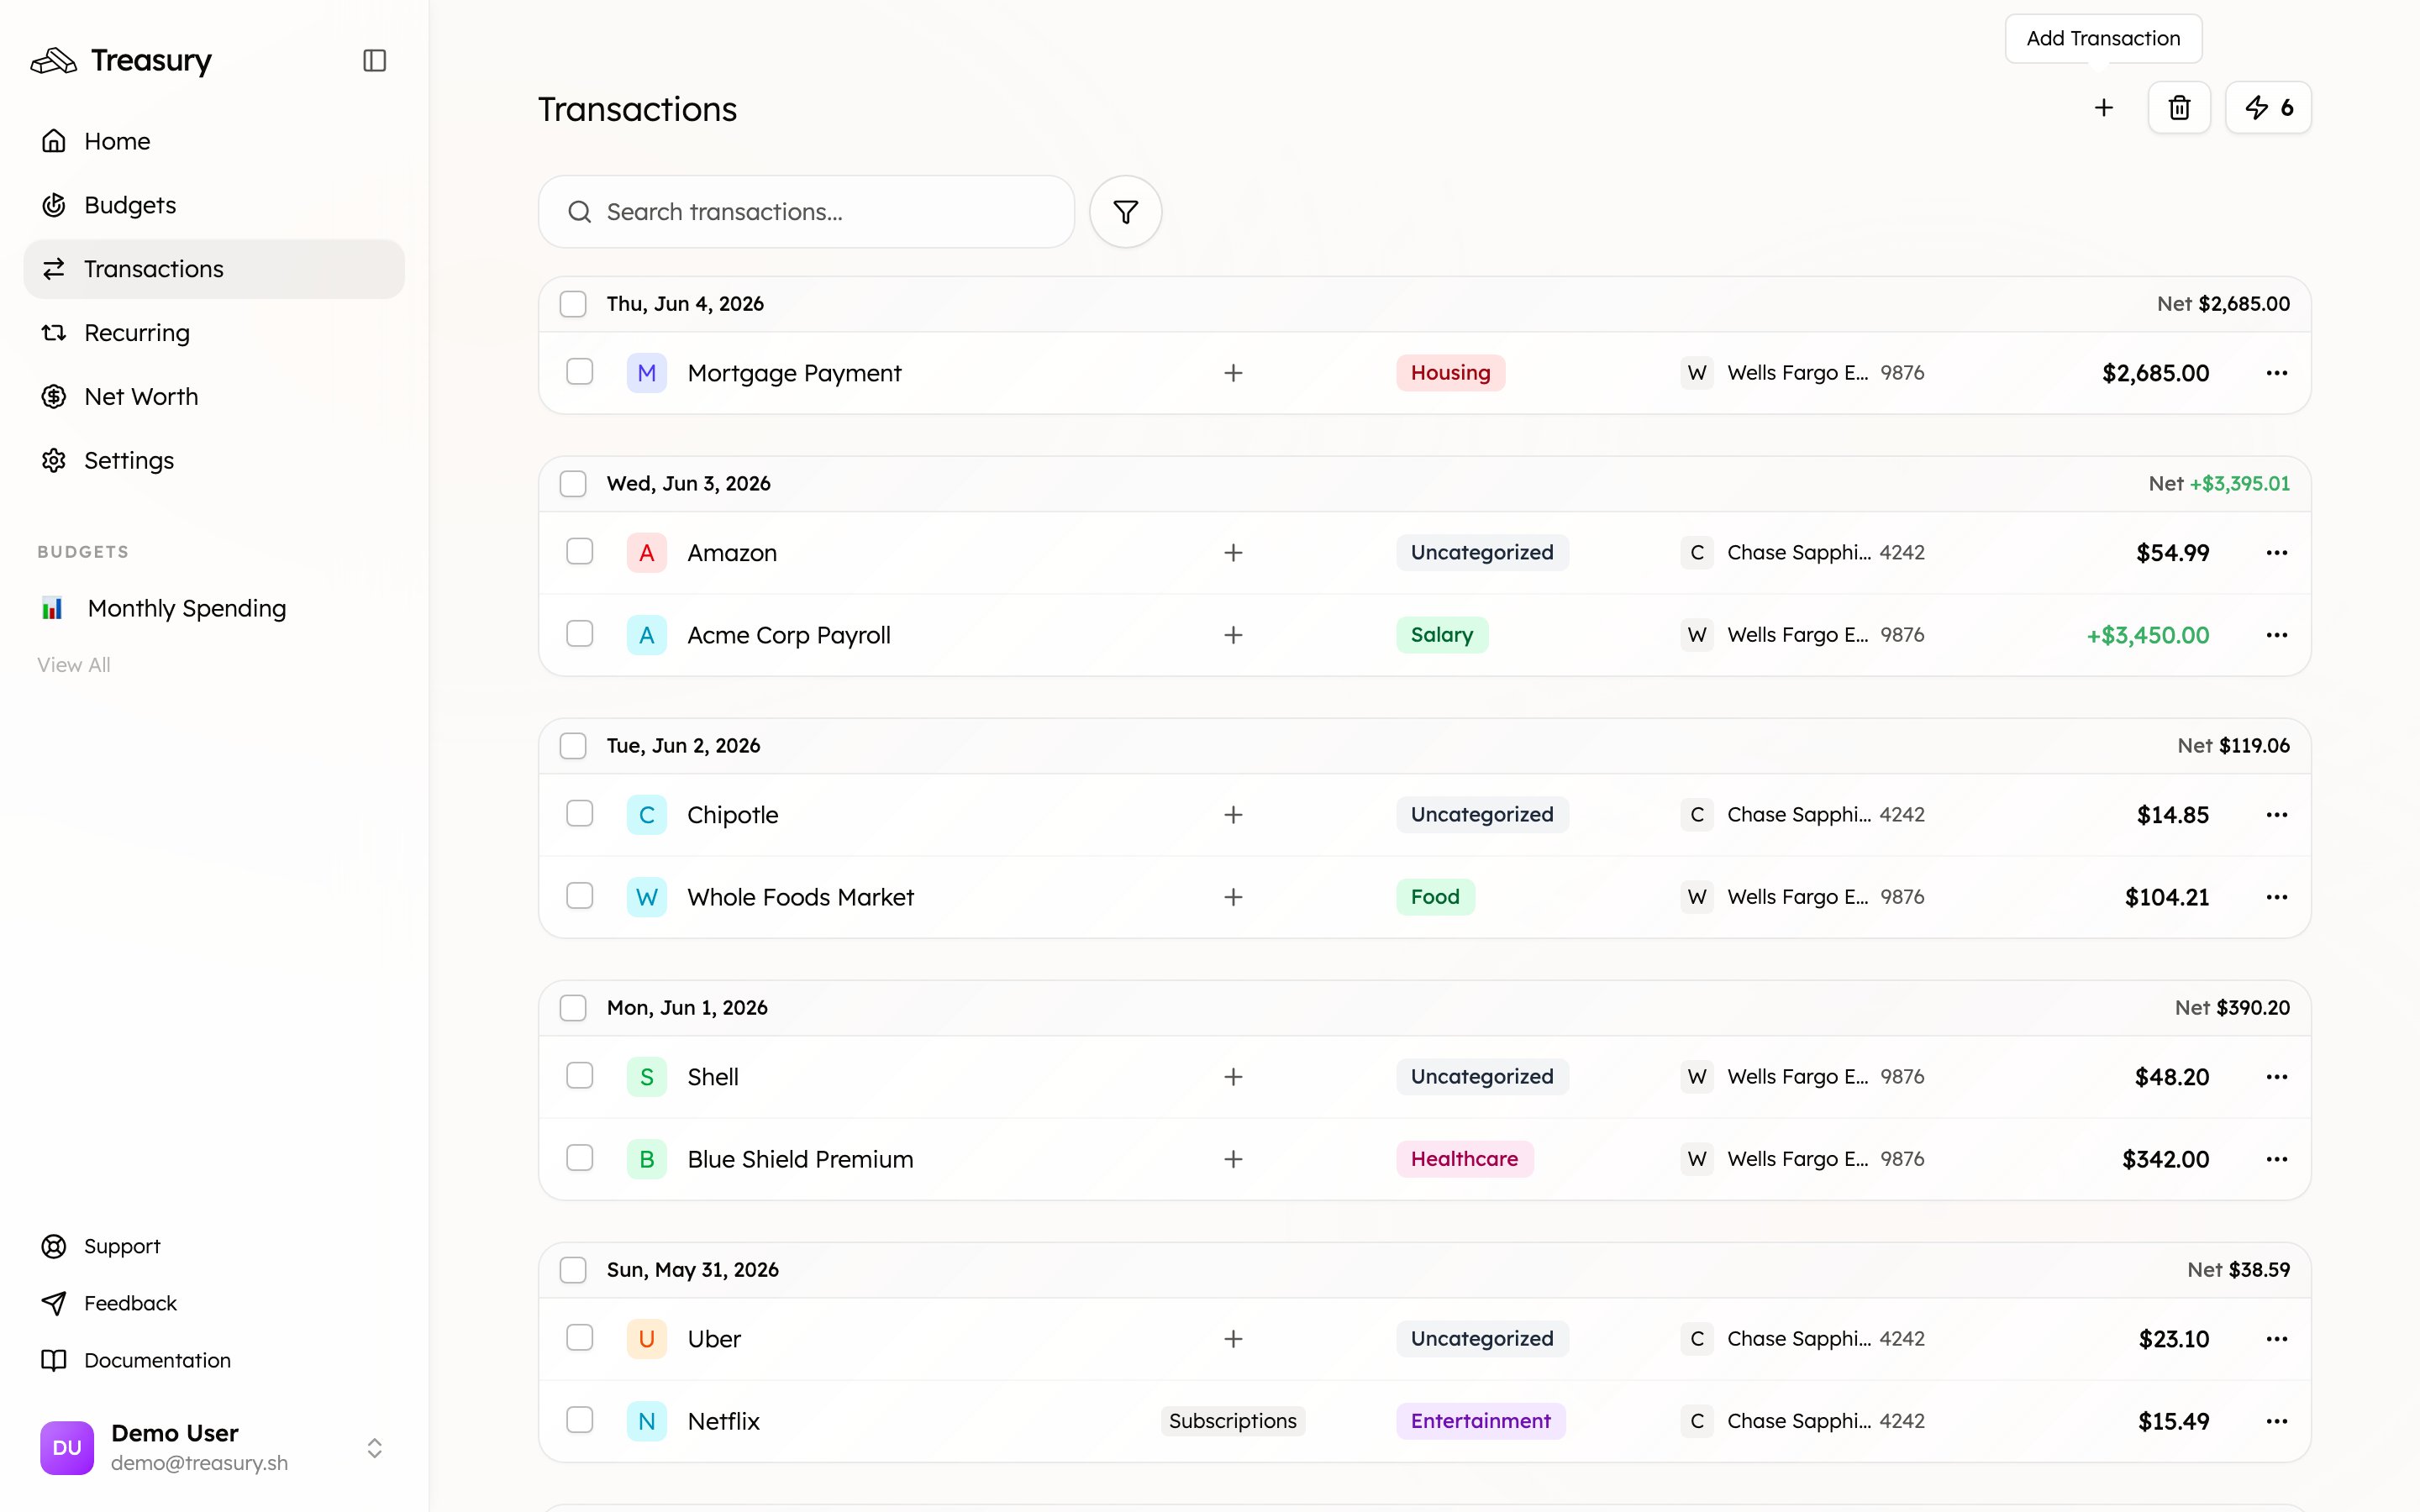
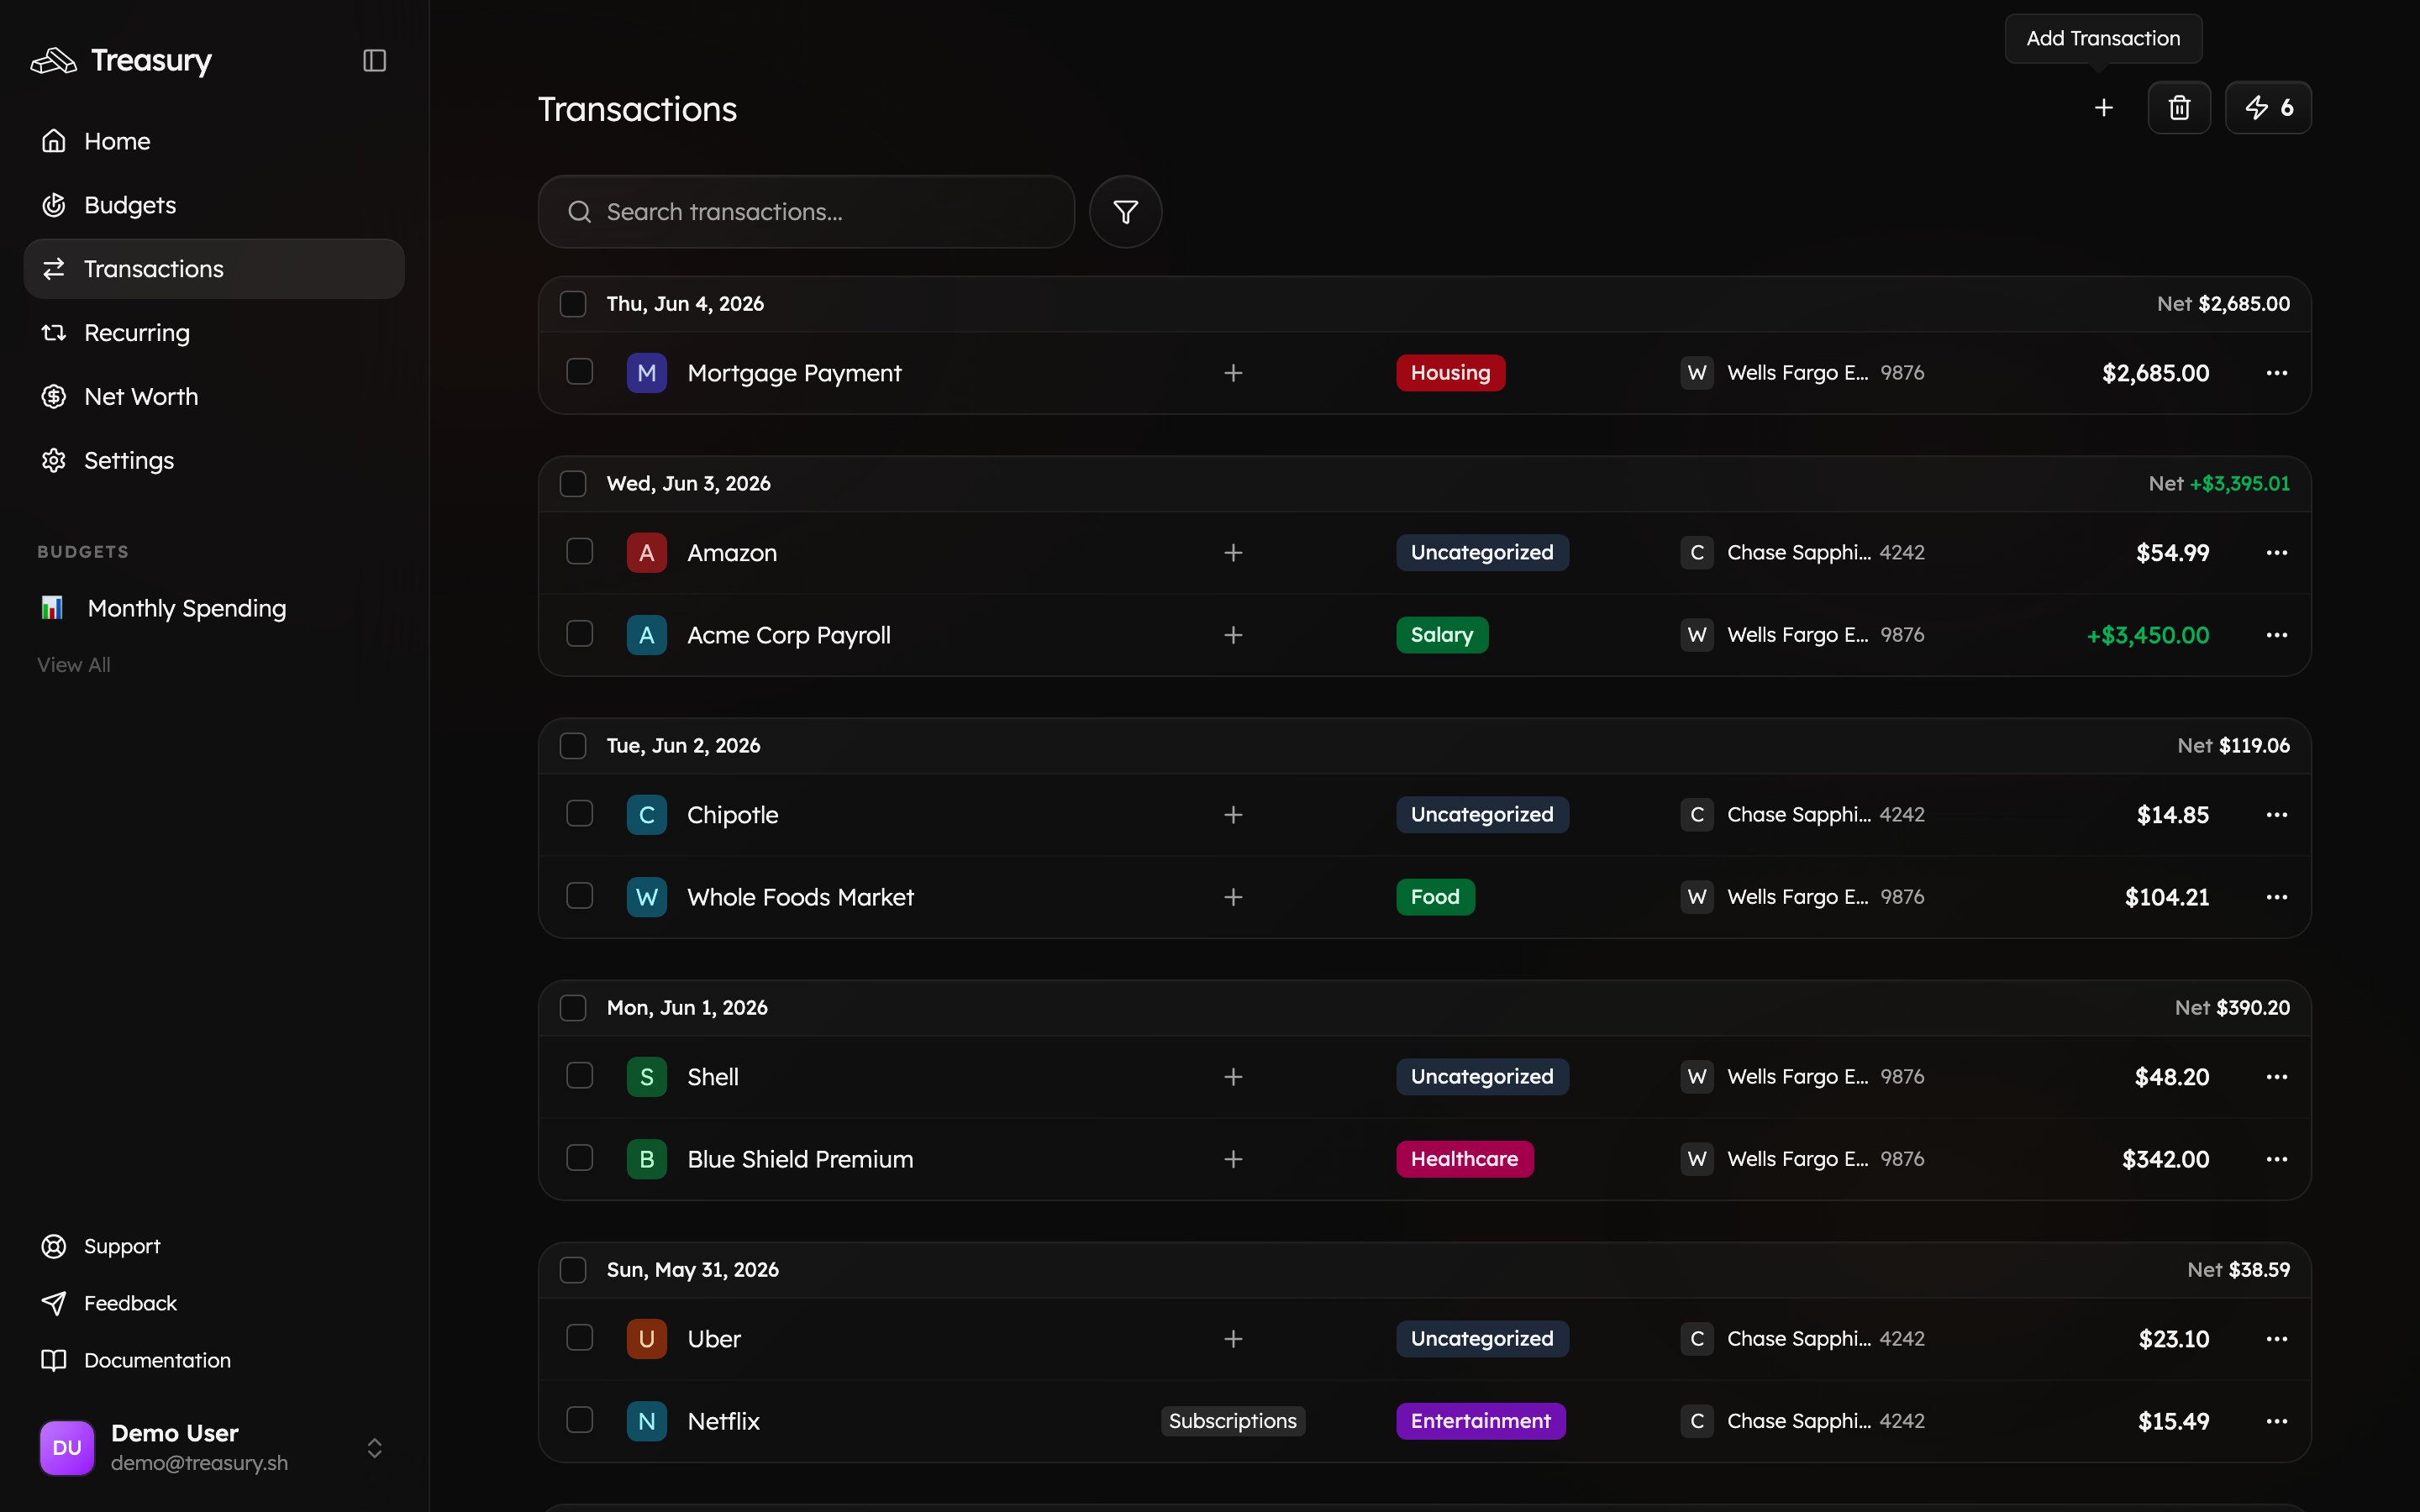
Adding a Manual Transaction
Manual transactions are useful for recording purchases made with cash or for tracking activity that isn’t automatically captured by your synced bank accounts. To add a manual transaction:- Click Add Transaction in the top right corner of the Transactions page.
- Fill in the details:
- Name – what the transaction is for (e.g., “Coffee at Local Café”).
- Account – choose the account to associate the transaction with.
- Date – select when the transaction occurred.
- Category – assign the appropriate category (e.g., Food, Travel, Miscellaneous).
- Tag (optional) – apply a tag if you’d like to group this transaction (e.g., Vacation 2025).
- Note (optional) – add any extra details or context.
- Click Submit, and the transaction will be added to your Transactions page.
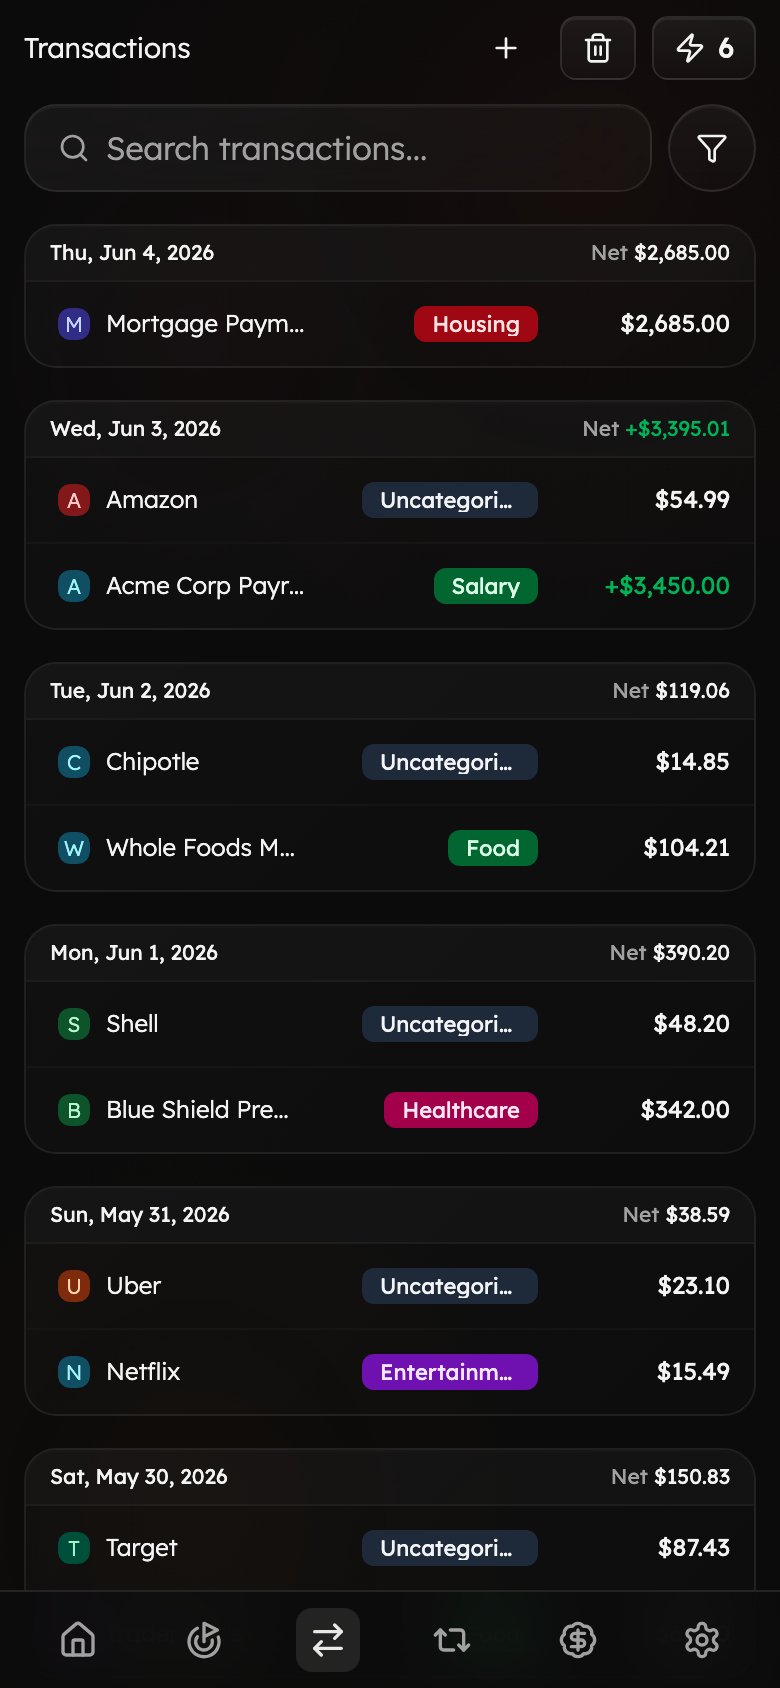
On the go
Everything on the Transactions page is available on mobile. Transactions are grouped by day as cards, with search and filter at the top and your daily Net on the right — so you can review and recategorize spending wherever you are.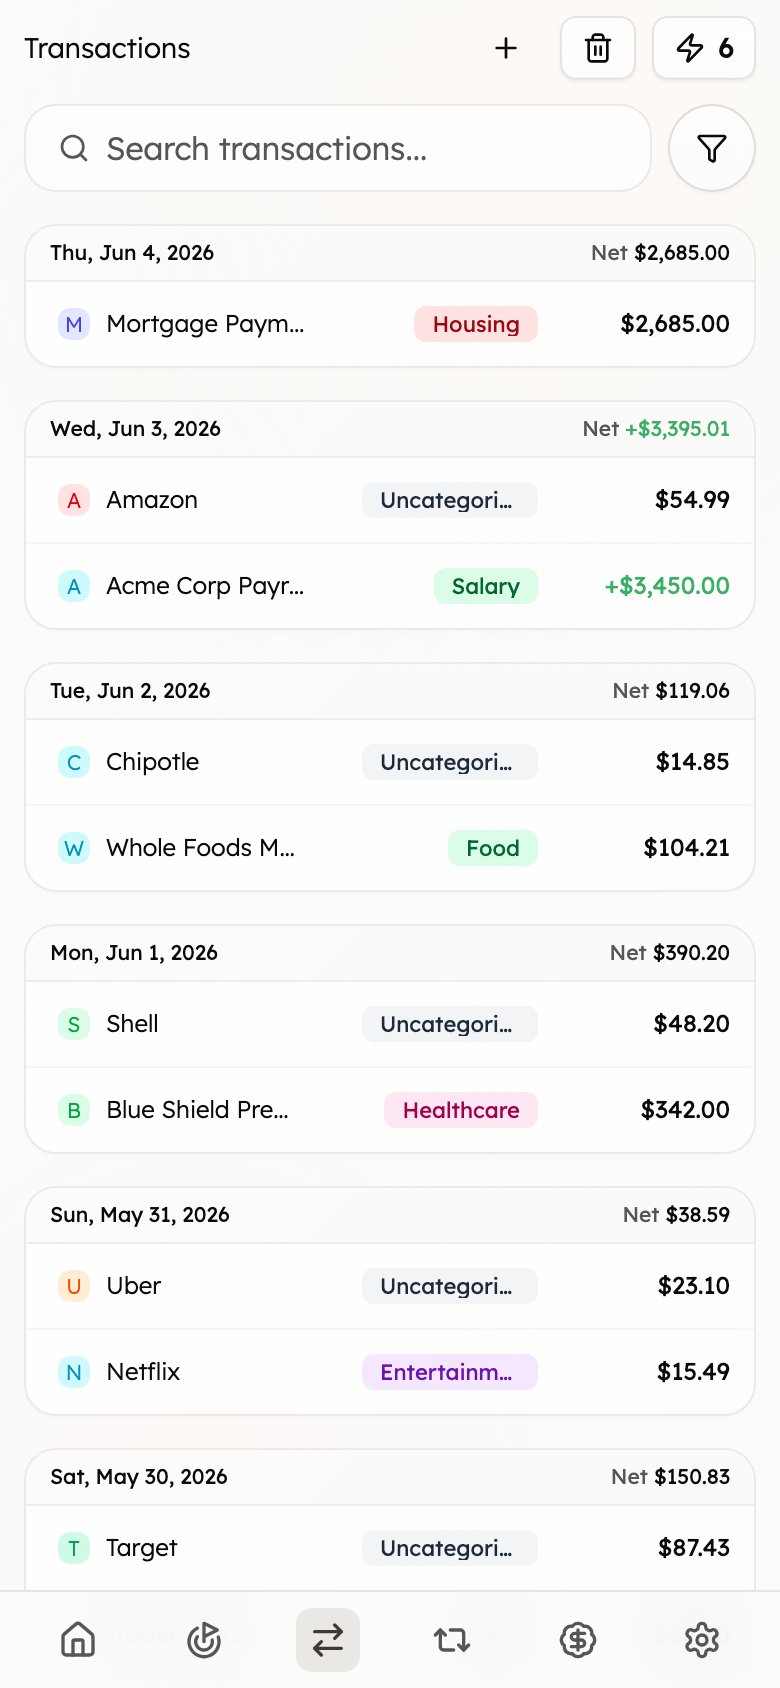
Tips & best practices
- Categorize little and often. A few minutes a week keeps your budgets and reports accurate — or turn on auto-categorization and use Turbo Review to clear the backlog fast.
- Tag by project, not just category. Tags like Lapland 2025 let you slice spending across categories for trips, events, or shared expenses, and can drive a dedicated budget.
- Exclude noise. Reimbursements and internal transfers can distort your numbers — exclude them so your budgets reflect real spending.
- Rename unclear merchants. Cryptic bank descriptors become searchable and reportable once you give them a clear name.
FAQ
Why is a transaction uncategorized?
Why is a transaction uncategorized?
Treasury auto-categorizes most activity, but flags anything it isn’t sure about. Clear those in seconds with Turbo Review, or click the category label on the transaction to set it.
I deleted a transaction by accident.
I deleted a transaction by accident.
Open the Trash (trash-can icon, top right) and choose Restore. Transactions stay in the trash until you delete them forever.
What does excluding a transaction do?
What does excluding a transaction do?
It keeps the transaction on your ledger for the record but leaves it out of budget and report totals — ideal for reimbursements, internal transfers, and one-off anomalies.
Can I add cash spending?
Can I add cash spending?
Yes — use Add Transaction to record cash purchases or anything your synced accounts don’t capture. Manual transactions behave just like synced ones.
Related
Categories
Organize transactions into the categories that power your budgets.
Turbo Review
Rapidly categorize a backlog of uncategorized transactions.
Budgets
Plan and track spending using your categorized transactions.
Connections
Connect a bank so transactions sync in automatically.